We recently scored a great solid white slip covered couch that is in dire need of some decorative pillows and color. Seeing these, I thought that's simple enough and at $25 a cover +$12 a down pillow insert, I can make them for way less.
I bought the feather inserts at Crate and Barrel for a better price and even took advantage of the free shipping that day. I've decided to make 8 pillows total and bought 5, 18"X18" square pillows and 3, 12"X12".
I found a great online store for the fabric, I bought 100% Linen from Russia, I found it here at www.fabric-store.com, it comes by the yard and is 59" wide. I used around 1/2 a yard per large pillow case. About 2-1/2 yards for all 5 was enough.
I am beginning to buy my fabric online as the prices are so much better then local stores. As long as you wait for the free sample swatches to come in before ordering yards, it's perfectly safe. I loved the "Cedar Green" more then the color of the PB pillow.
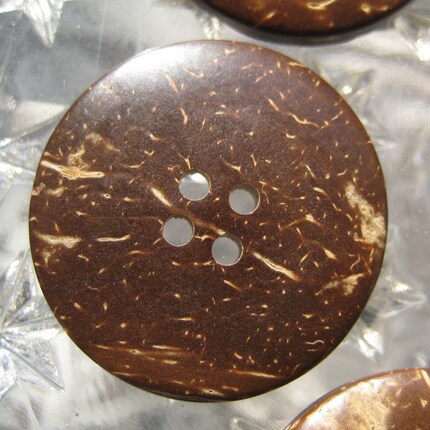
I found 8, 1-1 /4" diameter coconut buttons from Etsy for $5.

I made a quick pattern out of paper, it helps me when doing multiple cuttings. I folded the fabric and pinned the pattern cutting 2 at a time for each piece.

For the each 18" square insert I cut 3 pieces of fabric. One 19"x19" square per pillow case.
One 19"x16" for the bottom of the envelope opening and one 19"x9 1/2" for the top
(total 5 of each size to do 5 pillows).

I sewed a 1/4" wide cord with a scrap piece of material to make one long cord. I then cut it into 6" pieces for 8 total toggle loops, one for each pillow.

I pinned, and sewed the edges of the envelope opening first. The under flap with a 3/4" seam, and the over flap that you will see with a 1- 1/2" seam, I think bigger seams look nice and more professional.


Then I pinned the three pieces right side out, just like the case will be when done. I then sewed a 1/4" seam all around the edge, trimming any uneven edges.
This is the first stitch in a French seam, right side out.

Then turned the pillow case inside out and pressed the seam and sewed again 1/4" all around. This is a "French Seam" to conceal the unfinished edge completely. Go Here for more detailed how to steps for seams, including the French Seam. Not difficult, but you must make sure you sew over the rough edge on the final pass.
Turned it back right side out, and sewed the button on, then the toggle loop. put the insert in and Done!


I did this for all 5 large cases, and I'll do the same for the little cases, but shrink everything down. The cut pattern sizes will be 13"x13", 13"x 11", & 13"x9". The seams and toggle loop are the same as before.


1 comment:
WOW! They're nearly exact. You did a great job! I love them! :)
Enjoy the weekend!
Roeshel
Post a Comment