**Update, I have had a few readers ask questions in the comment section below. I have tried to comment and answer them there. **
I have an announcement, I have officially lost my marbles, but in a creative way. Oh, also I may need to rename my blog "Mrs. B Knits", because that seems to be the way my posts are going these days.
The knitting bug has bitten be pretty hard, along with some other creative bugs that cause me to make things with an uncontrolled passion (some say obsession) and determination.
This giganto craft in particular sparked me right away. About a year ago I taught myself how to knit, and I quickly started googling inspiration for extreme knitting (sounds like an oxymoron, as knitting is usually associated with grandmas sitting on there doily covered couches). I occasionally saw really large gauge blankets or throws that looked so plush and exaggerated, but in my search for large yarn I was coming up unsuccessful.
Until I found a pattern and how to make your own mega huge yarn! Then it was on, like Donkey Kong.
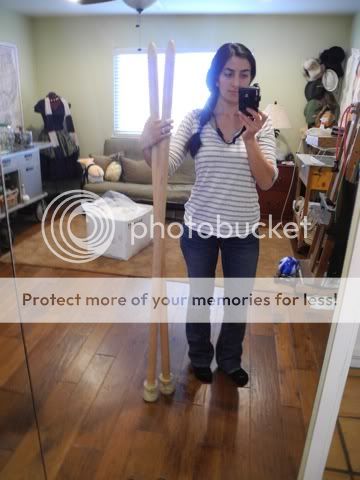
Pattern found here at nocturnalknits.comFirst I needed giant needles. Although the pattern suggested using PVC pipe with duct tape tips, that was just so not my style. Plus I wanted something I could keep and display in my crafting room. Something classic, so we went with wood.
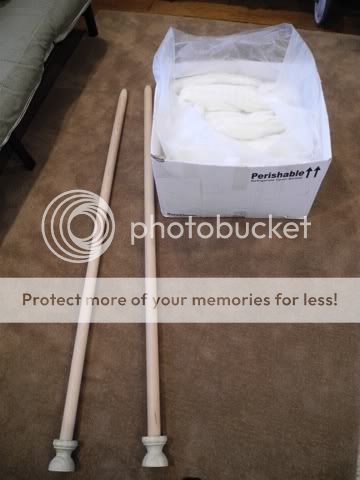
5 foot tall just over 1.5" in diameter or 40mm thick needles. Mr. B crafted these babies out of a giant 10 foot long dowel, think of the rods in your closet, and two fence finials for the ends. I finished them in a Minwax finish that was perfect and dried in no time.
Then I needed the wool. I had to start with roving. Its basically sheep's wool that's in a long continuous strand of combed fibers. Here is my box of 7 pounds of Merino sheep wool in superwash un-dyed natural color.
This is what it looks like when its "out of the box" it's on long continuous super soft ribbon of cotton candy like wool fibers.


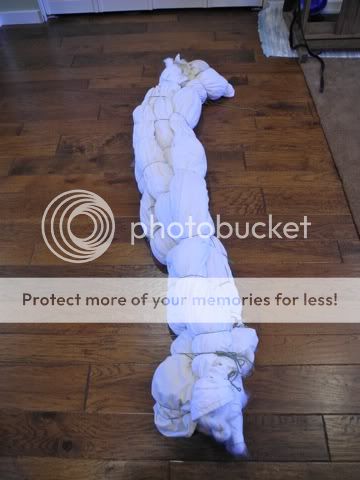
To prepare the roving for knitting I needed to "felt" the wool to make it stronger by tightening the fibers together and also making it less prone to shedding. This process was time consuming but actually fun. I rolled the long strand of roving into white sheets.
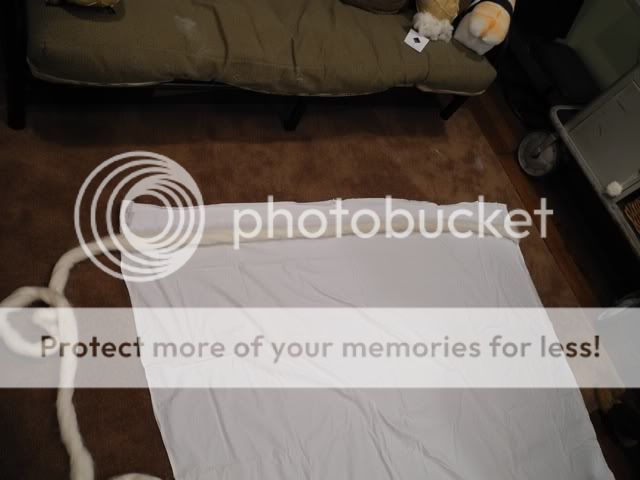
Here I am rolling....and rolling. It took 4 king size sheets total to roll up the 7 lbs of roving.
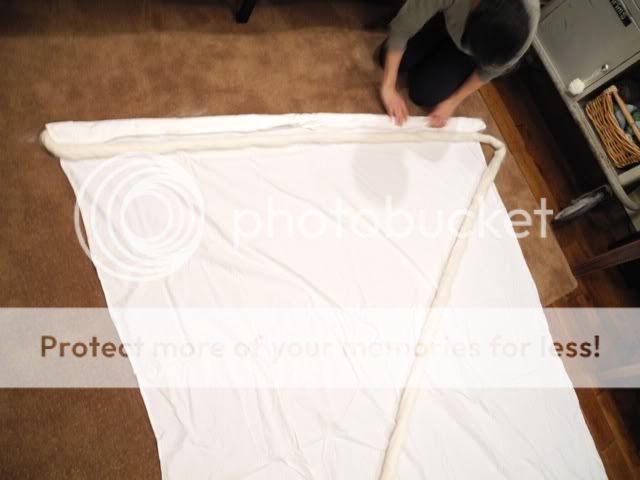

Each sheet was tied up like a sausage to keep everything in place.

Then I tied all 4 sausages together.
Then it was time to Felt! I got the bathtub going with the hottest water possible, a bit of detergent and that's all you need.

Well there is a bit of exercise to it as well. I put on my goulashes (they are really heavy) and got to agitating. Basically your feet act as a washing machine, turning up the water, stomping the hot water through the fibers and really moving the wool around. I did this for 5 minutes, then ran clean water through it and then smashed most of the water out.


The sausages took a couple rounds in the washing machine in the spin cycle to remove the majority of the water. This worked really well actually, I was quite surprised.
I laid out a large thick comforter in our sitting room floor, and zig-zaged the damp roving out over it to dry.
I have to say if you are going to do this be prepared for a very strong wet animal odor. It smelled like there was a wet sheep herd in our house "something fierce". I then made the fantastic mistake to light some incense, and immediately our house smelled like you had walked out into the streets of another country. It was not really pleasant, but luckily it didn't last long.

This lengthy process is basically to make the fluffy delicate wool strands go from this.

To this.

After the wool dried on the floor overnight, I split it in half vertically to cut the diameter of the strands in half. The pattern said to do it this way, but if I had to do it again I would split it first and then felt it. It would be way more work, but I think the end product would be better.
Here are the two giant balls of yarn being made from the split up large strand of roving.

Tada!
All ready to knit! Finally :)

And I'm ready to cast on!

That's when Mr. B went for a ride on his newly rebuilt Triumph, he took Yoda with him and left me to my knitting.
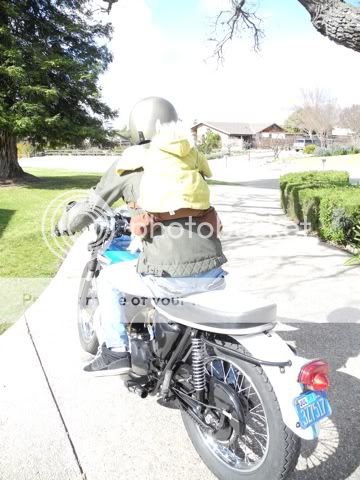
He came home to this! It's not a great shot but I'm at the half way point here, and just after this was taken I quit knitting for the evening.

This is where it got pretty heavy. The next day I finished the rest with some help. The needles got so heavy and my arms were sore, so it was a two person effort from then on.

This is my mini ball leftover from the project.

Here it is!
The pattern asked for a slightly different number of stitches, I changed it a bit. Mine ended up being 50"x60"

So Mega Throw is pretty awesome. It's the plushest thing in our home. It is like a knitted sheep skin rug. It's so cushy you could sleep on it like a mattress. I don't think I need to mention how heavy it is.

This is a close up of the stitches, they are about 2.5" wide each.

Now that it's done I am really enjoying it. I don't know what my next crazy project might be but I know when I get tired from it, I'll have this plush beauty to cuddle up with when I need to.
 **updated 2/16/12***
I decided after living with Mega Blanket for a few days that the shedding and amount of wool it was leaving on everything it touched needed to be controlled. Now I knew it would do this, but to prevent it from happening as much I ended up "felting" it again after it was knitted up. I wrapped the blanket in one large sheet and threw it back in a tub of soapy hot water, put my boots on again did a little dance on it, then put it in the washer for the spin cycle once more and laid it flat to dry.
This is pretty much the process it will go through every time it needs to be washed so its perfectly fine for the blanket and it helped a lot with its shedding issue! YAY!
It does still shed a bit but not as much as before. 


