

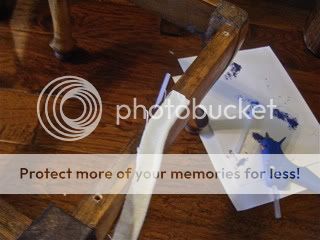
I scored this cute old little footstool base at an estate sale months ago. I have been wanting to restore it for a while but I couldn't find the right material. I wanted something that would match the ginger jar that Rory got me for my birthday.

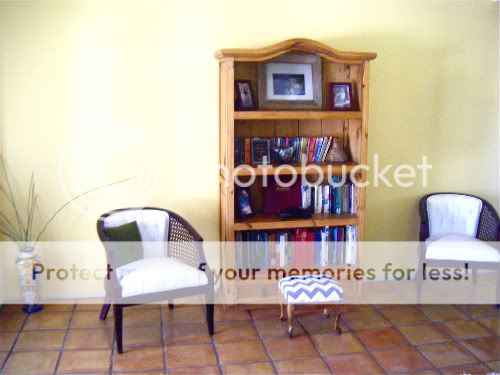
While I couldn't find any thing to match, I decided to paint the pattern with fabric paint. Here is the finished stool, it only cost me $5.00 for the wooden stool base, and the cost of the fabric paint, everything else I had from previous projects.

I used the white linen I had leftover from the two cane chairs I finished last month. I practiced on a scrap trying to find the right shade of blue. I printed out a template that I quickly made in photoshop.

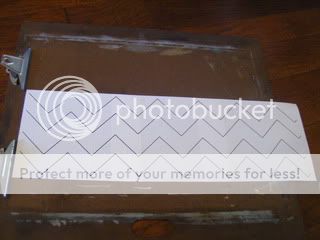
The material is slightly see through so I placed the template under it and traced out the zigzag pattern with an embroidery marker that comes off with water. You can barely see the light blue pen mark in the photo but it was very apparent in real life.


I used a nice square firm brush to fill in the lines with the perfect shade of blue. Once the paint dries you just iron the back side of the fabric to set the paint in, then it is waterproof and washable. It is actually great stuff, and was my first time working with it. I used Jacquard Textile Paint, in a mixture of Navy, Sapphire Blue, and Violet.


With the supervision of Rory, I used a skilsaw and cut out a plywood base for the cushion. I pieced together two pieces of 2" upholstery foam that I had from the chair project. Just a bit of spray contact cement to bond them together in the center and to the board.
~That is why I can't throw anything away, you never know when you are going to need it.
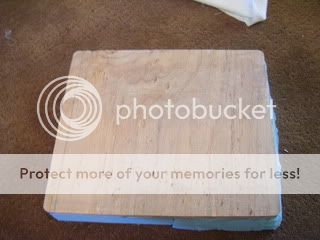

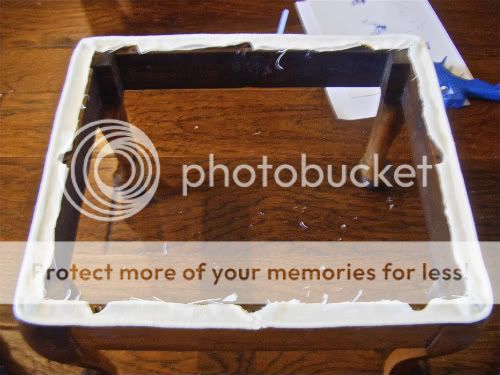
A piece of badding goes over the foam and I upholstered the whole thing with a piece of white liner material because the linen is slightly see through.


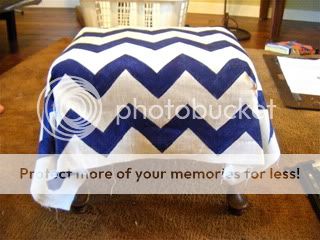
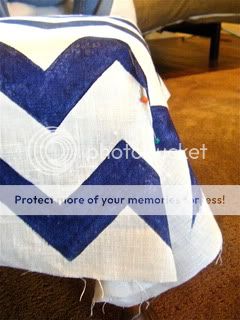
After I stapled the white liner material on the cushion I laid the zigzag material over the cushion, then pinned the corners so that I could sew a neat corner seam for a fitted look.
Here it is almost done, I trimmed the excess material then stapled to the bottom a piece of black dust cover.


Last minute we decided it would look great with a trim of single welting. I was not hesitant to add that to the project as I was eager to try out my new single welting foot that I bought after my last upholstery project. Let me tell you this foot was worth the $5.00, it made making custom welting a piece of cake!

I hot glued it down to the wooden base, then trimmed around the screw holes.
Then screwed the cushion to the base.

Voila!


3 comments:
It matches my hallway!!! I love it xo
That looks awesome!
I am drooling over those cane chairs. I have been trying to find some just like them for my living room for ages! What's the story behind yours?
PS I have been trying my hand at fabric-painting lately as well! Mine hasn't turned out as cute as yours did, though.
Post a Comment