Monday, May 30, 2011

Knitting!

Check out my newest crafting crave! I LOVE knitting, its actually great. For years I was anti knitting and only chose to crochet, mainly because I found knitting difficult. But its not at all! So I encourage anyone out there reading this that has been apprehensive to try it, its pretty awesome actually, and I think I am converted now. I will still crochet things in the future, but I prefer the speediness of knitting and how little yarn it uses to make something.

I have been busting out baby beanies like they are going out of style...or in style...or whatever that expression is trying to convey. I made four beanies in mini sizes for gifts and one for me! (not pictured below)


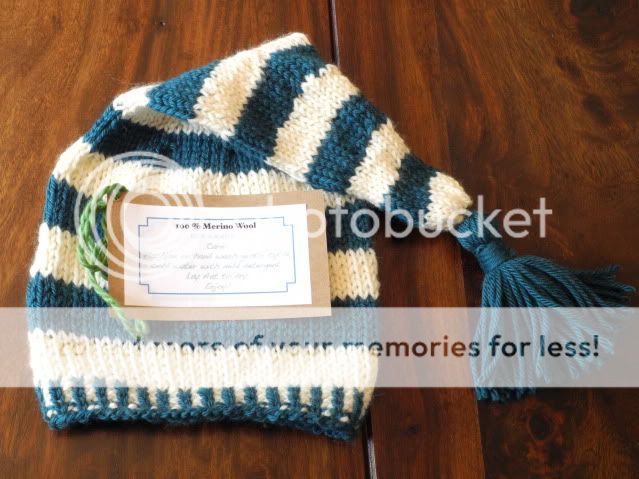
This fun stripped one was the most time consuming due to the switch back and forth of colors, and its long...but it came out so cute! I love the nightcap look.
Made out of soft non itchy Merino wool.


These simple beanies are fast to make but totally practical. I made them out of organic cotton yarn.


Pom pom hat made from organic cotton as well. I wish I could sport this style hat without getting the side eye. I would put pom poms on everything I make, but I restrain myself. Not everyone loves them, but come on! Look how cute!!


Thursday, May 26, 2011

New Old Medical cart

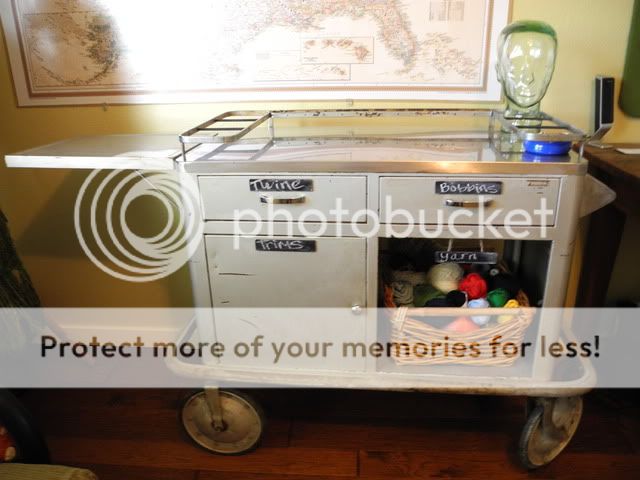
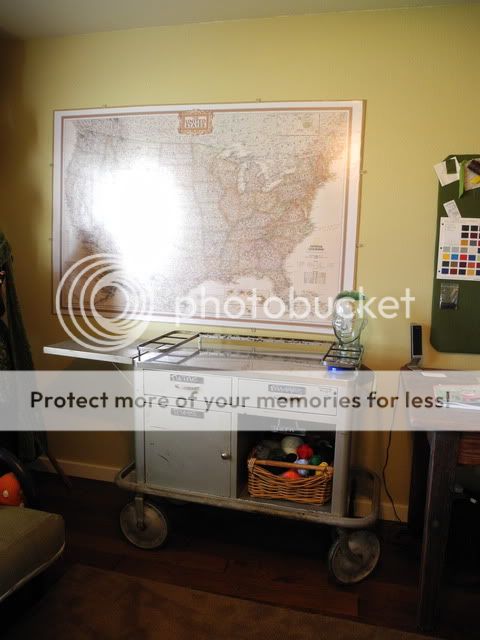
Here is my latest find, its a craigslist score. I saw it and knew exactly what I would be using it for, storage in my craft room.
What is it you may ask? Well its a vintage medical cart from a company that went out of business in 1959 A.S. Aloe Company in St. Louis MO.


If anyone has any idea what age this cart is, please let me know!


We were thinking it was 60's but we must be way off. I am trying to research the year it was made but it's not easy. I have had some say 30's or 40's. I just don't know? But I do know that it is cool, and really functional. The wheels on the thing make it super easy to move around and it has a ton of storage space.


After a lot of cleaning, and scrubbing with "bar keepers friend" and then a spray with the power washer, it was allowed to come inside the house.


I am going to try to find some glass jars to fit in the rack on top to hold buttons, tools, scissors, whatever. For now the stainless steel counter top is a great new surface to work on top of with my various projects.


I couldn't help add to the "Mad Scientist" look of the cart by setting my glass head on top.
teehee...


I sprayed a few slats of wood with chalkboard paint and attached them to each storage section for labels.


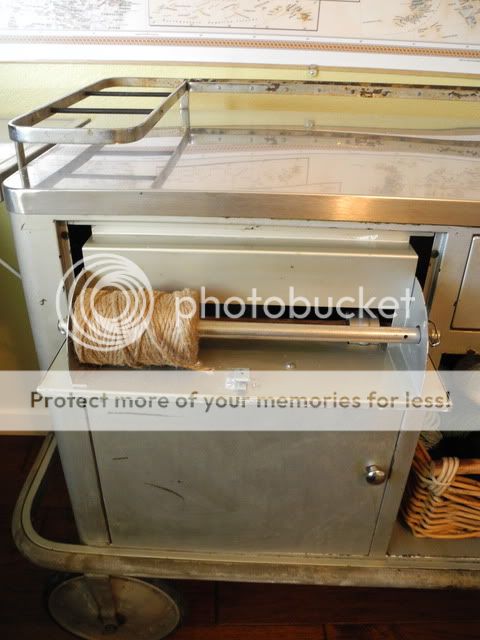
The old tape and bandage drawer with metal dowel make a perfect spot for twines and ribbons.


The open shelf underneath was just asking for a rattan basket to warm up all the metal, I am using the basket to hold all of my yarns.


Wednesday, May 18, 2011

New things!

First things first, I made a new blog header! Up there check it out. I dig it :)

The other new thing to me, is that I am teaching myself to knit, well trying to...
I do crochet, thanks to my mother in law, who took the time to break that down for me years ago. But I have been inspired by some pretty adorable knitted baby beanies lately that I would love to make myself and give as gifts.

And with all the beautiful yarns out there I am in yarn shopping heaven!


So I'm giving it a try. Wish me luck, and if you have any advice please share!

These are a couple of cool 1940's knitting images.


Sunday, May 15, 2011

DIY Quatrefoil Mirrors

Our Living room has been a decorating work in progress. We updated and refaced our fireplace this last winter, and then I removed the gray shutters from our large window and replaced them with linen curtains for a much improved look.
On either side of the window I have been wanting to put up something to finish the wall and add a shape of interest without too much time involved. So we whipped up two quatrefoil shaped mirrors from scratch. I got the idea from these online at $139.00 each on sale from $168.00 each.
I love the quatrefoil shape, it lends well to our style. Its has a very Moroccan look that I love.
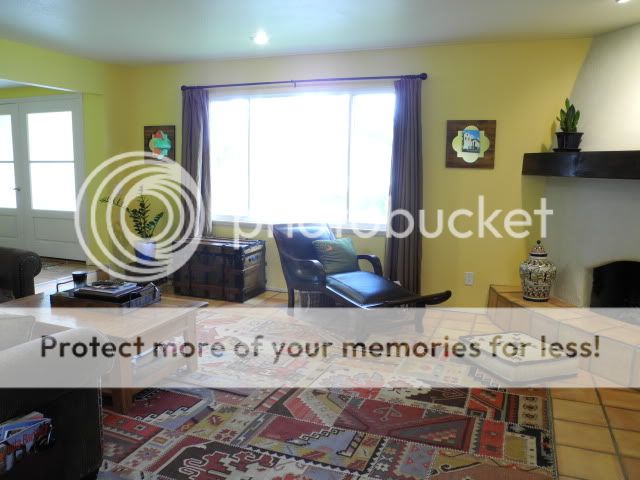


Each mirror is 18"x 18" and we finished them in a day.


So here is my "How To" if you are interested in making some yourself.
(click on images to enlarge)
**Warning some fancy power tools necessary**

What I used:
• Two 15"x 15" mirrors that I had custom cut out of 1/8" thick mirror from local glass guys. $20.00


• One 8' x 12"x 3/4" piece of pine wood, $10.00 cut into 18" pieces and glued together and clamped in the center seam. Mr. B did this for me.
• Wood glue
• Clamps
• Table saw
• Jigsaw
• Router
• Silicone
• Wood stain and finish in one
• Hanging brackets $3.00
• Two drywall anchors
• Two screws
• Masking tape
• Measuring tape
• Sandpaper
• Scissors, pencil, scotch tape.... other random DIY things everyone should have

Here is the seam being glued and clamped.


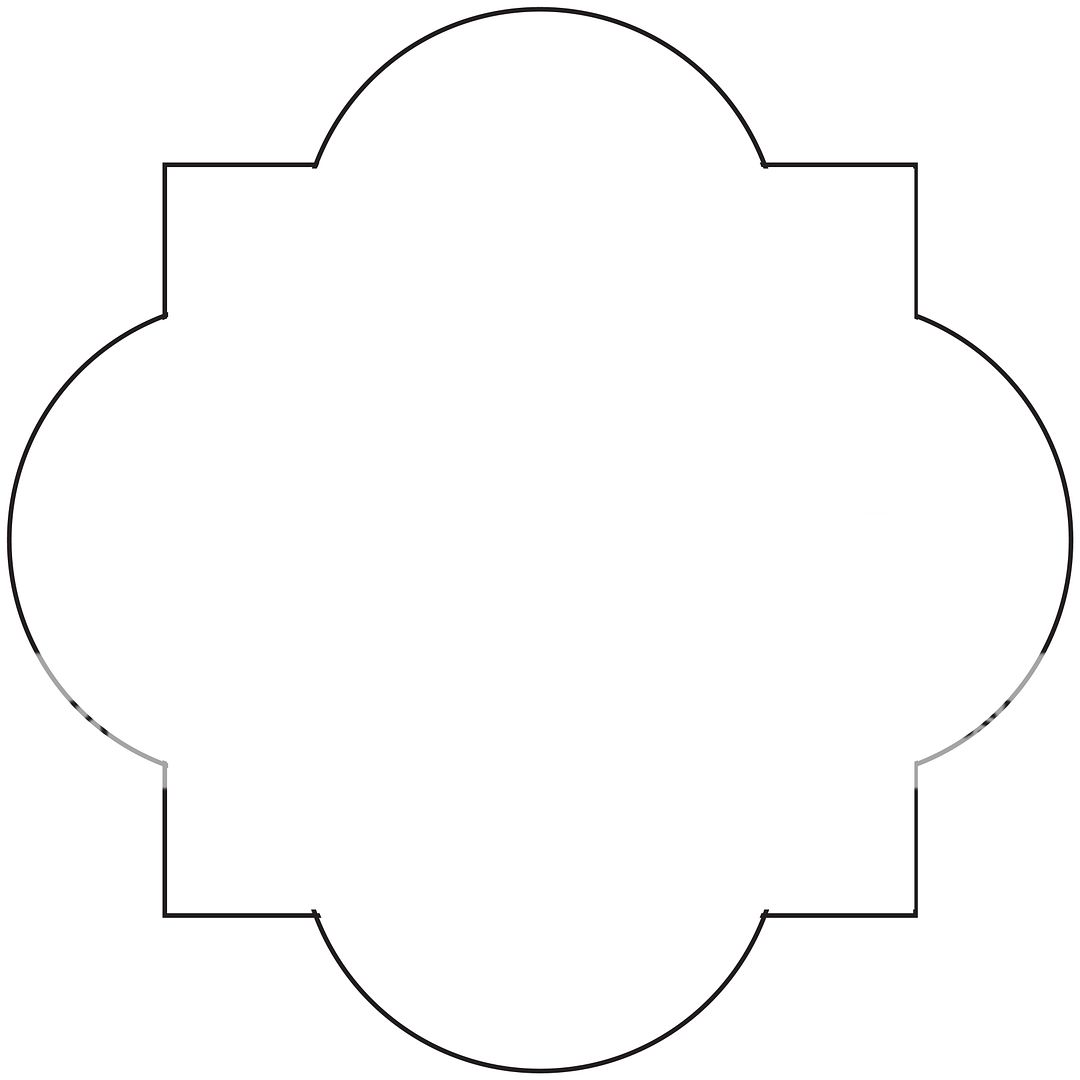
• A 14" Quatrefoil template, I made in InDesign, you can get the image here if you would like to print it, you may need to adjust the size on your end.
I printed it in 4 sections and taped it together then cut off the outer edges.
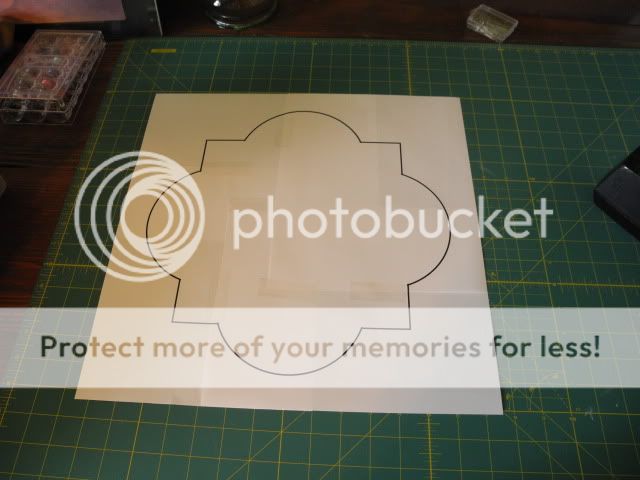
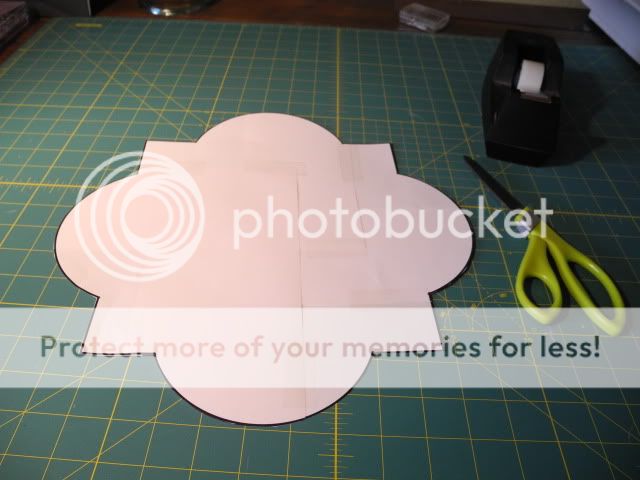


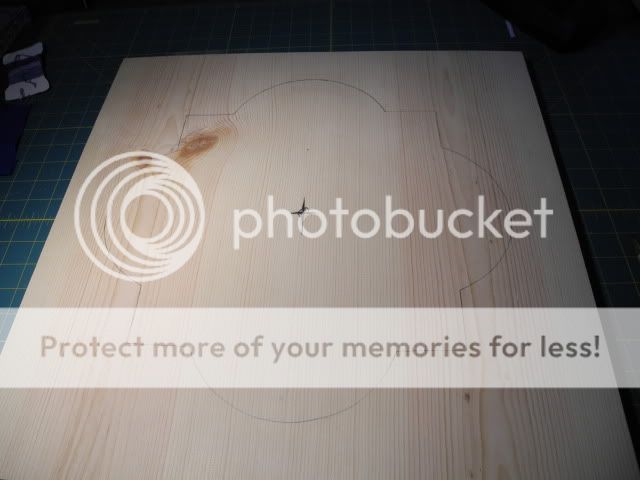
I traced the template with a pencil after centering it on the 18" square piece of wood.
Then Mr. B used his Jigsaw to cut out the shape. He then Routered out a 15" square on the back at about 1/8" for the mirror to fit on the back flush.

I sanded and stained both, let that dry.
I used Silicone to adhere the mirrors to the backs of the wood in the groove cut out by the router. I let the mirrors set overnight face down.
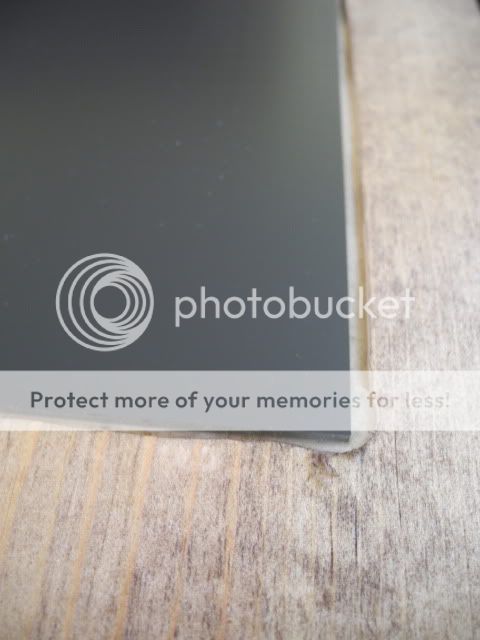

The next day I nailed one bracket to the top center of each mirror.


You can see my custom "termite holes" that I added for an aged look before staining.


Here the are ready to be hung up.


Mr. B anchored two screws on the wall, I use the masking tape technique for easy clean up.
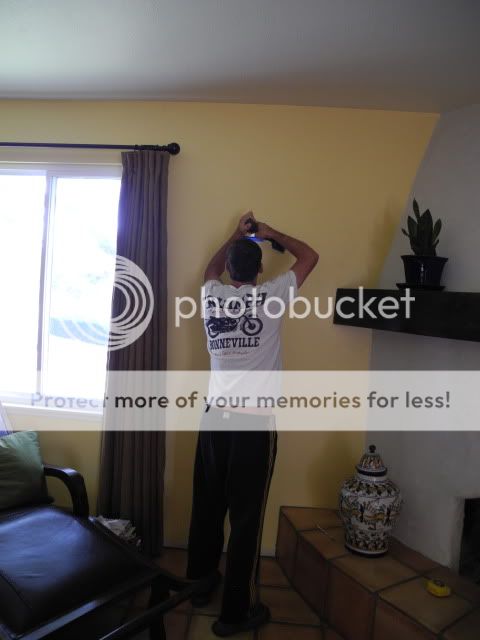


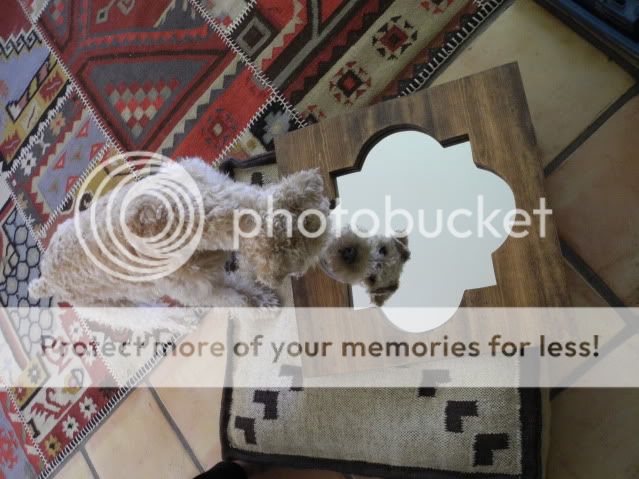
Side note, while Mr. B was busy putting the screws in the wall, Baxter was infatuated by his reflection in the mirrors. He stared at him self and scratched at his reflection over and over again.
Mr. B took this as a message that he wants a friend. Which means dog #2 for the "B" household. I am not so sure about that!


Here they are all done and in place, I think for the money they are a great addition. The whole project cost us about $33.00 since we had the majority of the items already.


What do you think?


Related Posts with Thumbnails