Showing posts with label Linen. Show all posts

Sunday, January 1, 2012

Twenty twelve

The New Year is here, today is the first day of 2012. Lets hope this warm breezy weather we are having is a sign that this year will hold many pleasant & unexpected events like today.


The first project I would like to share with you is my handmade knitting needle case. I technically made it last year (yesterday) but didn't have the daylight or the energy to take pictures of it till this morning.
It was a total labor of love, and also craziness. It took me FOREVER! Well like 8 hours, that's a really long time and my whole Saturday. But I totally love it and it's extremely practical, plus the cost was minimal....if you don't count the labor :)

I saw this pretty item on Etsy, and quickly pinned it on Pinterest, along with similar cases. I have been in need of a much larger and safer knitting needle case since I started knitting last spring. My old one worked pretty well, but occasionally I had needles slip out and with the price for knitting needles that is just plain unacceptable.

The price tag of $104 with shipping for the large case on Etsy was pretty crazy too (or so I thought). Also I wanted something a bit more custom! Or course. So I headed to the craft store and picked up $20 in fabric & supplies and a button for $6, going into the books as "the most expensive button I've ever bought".

I made my case out of some cedar green linen that I had left over from my pillow project a couple years ago. I used the crinkly texture idea from the etsy seller above, and sewed some organic looking creases in the linen first.
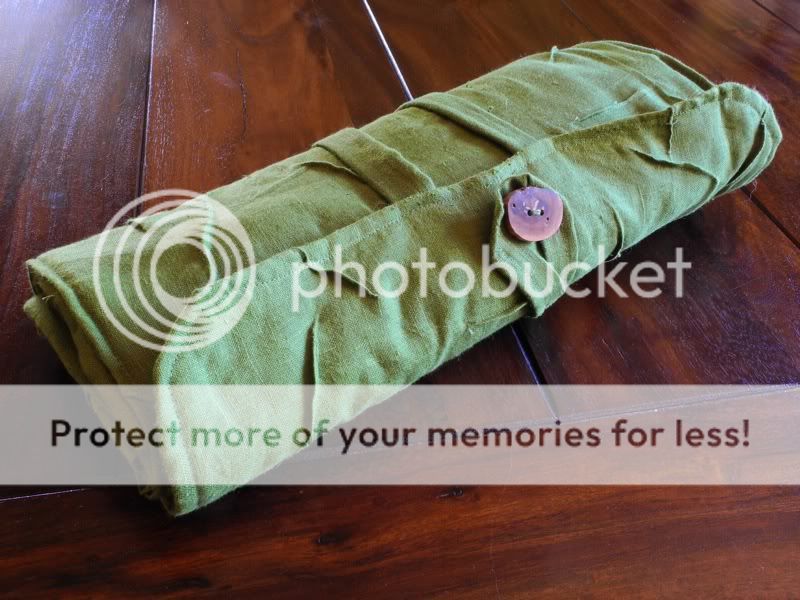
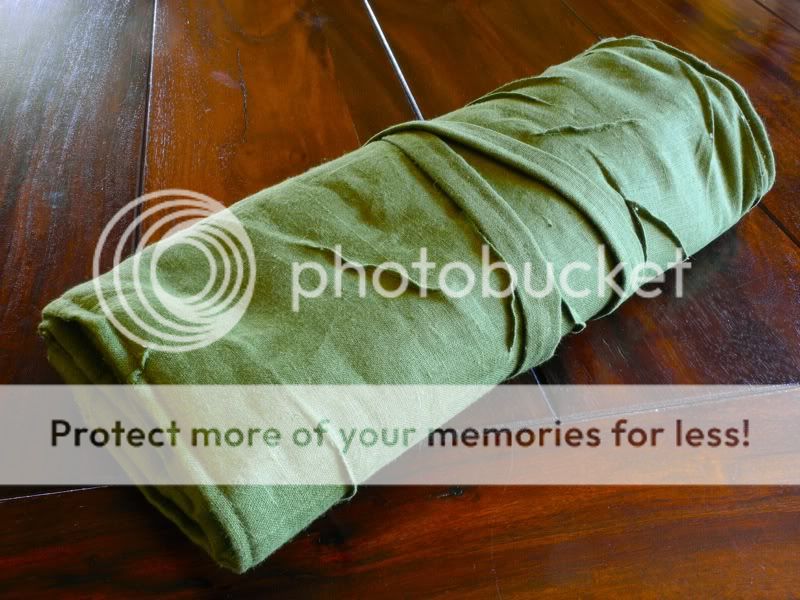


The outside of the case has a very natural feel. The randomly creased leafy green linen, and my favorite part of the whole case, the manzanita branch button handmade by a local artisan. The button is fabulous, super smooth feel to it, but really rustic at the same time.


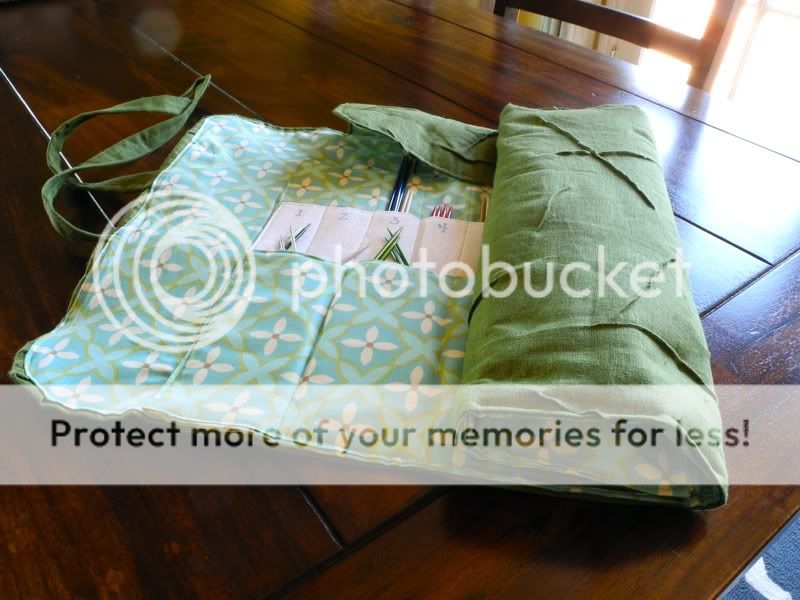
The inside has a vibrant patterned cotton fabric that I picked up at our local quilting store. Its a fun, unexpected interior that I just fell in love with. The cottons at this store feel amazing, and the iron on fleece that I sandwiched between each layer of fabric holds on to my needles nice and snug.


I made my case extra large. It's interior dimensions, not counting the flaps is, 15" x 24". Total of 19" x 28". I added a velcro pocket to the right to hold my measuring tape and other larger items.
There are 30 pockets for all different needles and a circular needle hanger over to the right.


The case has safety flaps to hold the needles in safe and sound. I numbered the pockets on the white fabric row for organization. The whole case rolls up to about 6" x 15" when closed.


I may be seriously considering making a clutch out of this fabric. I love it! It's my new favorite thing in my knitting bag, and totally practical. Can't wait to show it off in the yarn shops to my fellow yarn snobs!


Friday, June 10, 2011

It's business time


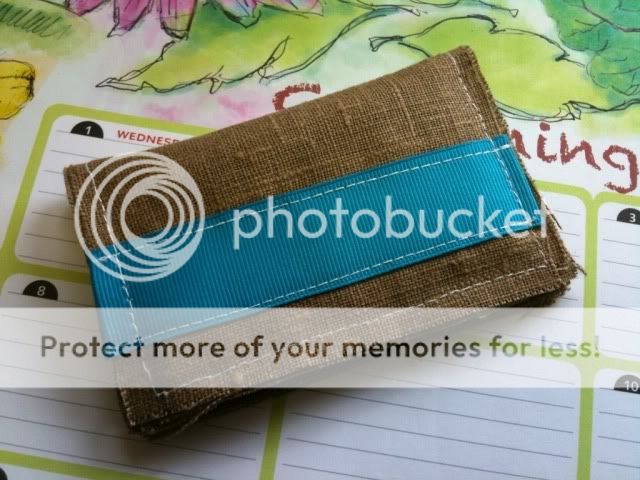
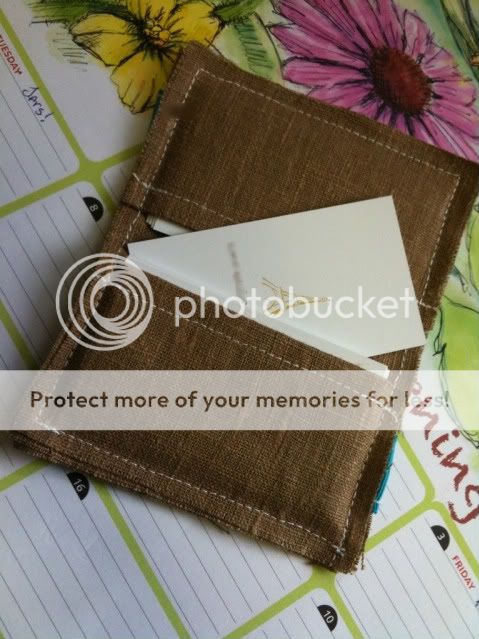
Last night my new business cards that I designed were delivered. I was super excited to start toting them around in my purse to give out, when I realized I didn't have a good way to store them.

So I started a search on the "interwebs" for one I could make. I came across this really cute and easy DIY business card holder on a blog called JenniferLaddHandmade.
She makes some pretty cute purses and card holders, I tell you what!

Her tutorial uses wool felt as the material which is really easy to work with, but I have a lot of linen on hand from various projects, plus it matches my purse. The ribbon was probably from a gift I received, I save everything worth saving, & grosgrain ribbon is always useful.


I left the edges raw, so they will unravel slightly for a "laid back" look. I mean they are business cards but lets not be too formal!


Sunday, May 1, 2011

DIY Showoff Rules!

So I won the "Earthly Essentials Giveaway" on The DIY Showoff blog!! Yay, free crafting supplies!!!
I entered a few of my projects using natural materials such as burlap, linen, jute, and rope. I won with my Purse entry just by luck of the # draw.


Oh I cannot wait for the goodie bag, and the crafting that will come of it....


Friday, March 25, 2011

Slipcover in minutes

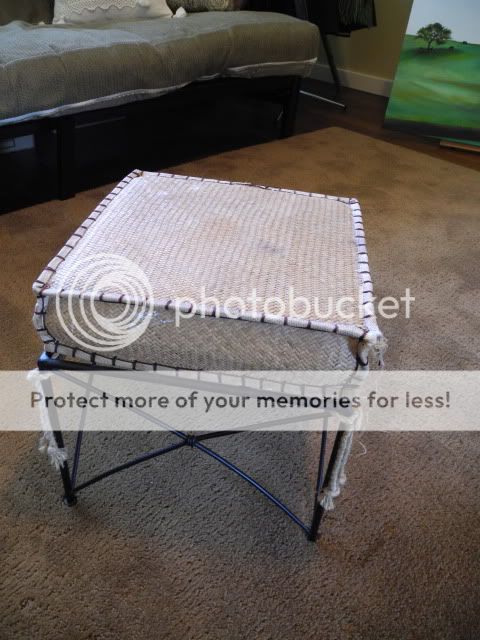
This little stool has been through a lot. After our home renovations especially our master bath & the need to stand on it while tiling has left some thin-set and grout stains that just won't come out. We do have a real step stool but in a pinch when both of us were tiling this little guy sure helped.


Well I walked by our guest bathroom today and saw it sitting there so sad and stained. I decided to make a little slipcover for it.
I had this fabric, which is just white linen that I painted with fabric paint. I painted it originally to make a decorative pillow, but the pattern clashed with our rug so its been sitting on my fabric pile for months.


I pinned it and stitched it up on my machine with a simple corner.


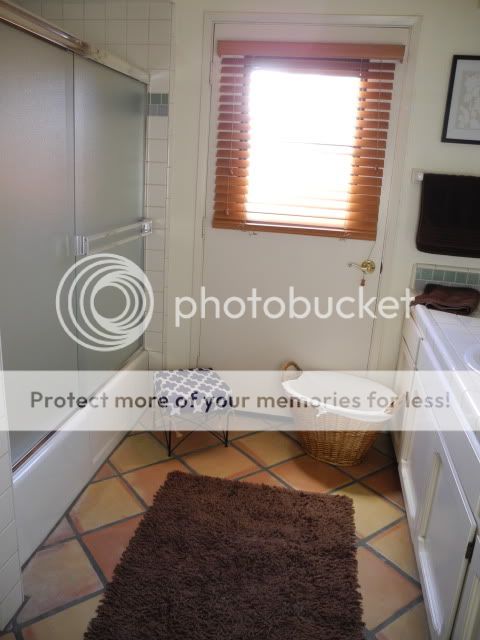
I think it adds some fun color and pattern to our fairly plain guest bath.
Which by the way this is the first time I have posted a picture of this room in our house. Its the only room that we really haven't done anything to since we moved in and painted. Its all original, so that's why I'm not showing it off. But the cute little stool helps, I think?


Tuesday, February 22, 2011

My first purse


I don't think it will be my last either. I really enjoyed sewing this bag from the beginning to the end. Which is rare for me with my sewing projects as I usually get frustrated and hit a lot of speed bumps.
I tend to make everything without a pattern, just using a basic idea in my head that I usually end up changing as I progress.
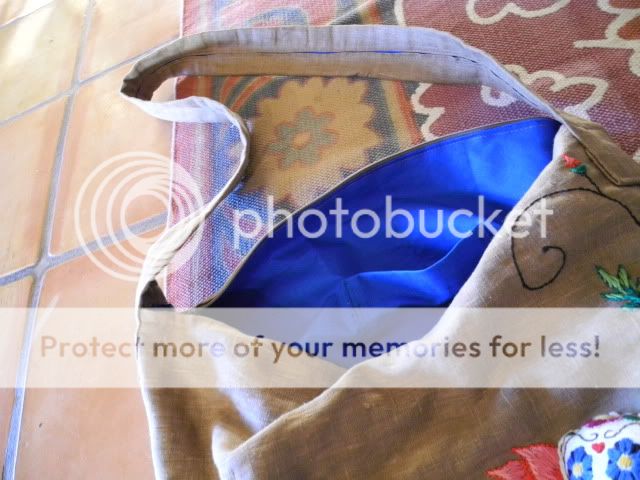
This purse was in my head for a couple days and I had to get it out! Its a bit off the wall for some but I'm really happy the way it came out. I wanted a casual sack that I can fit all of my usual junk in and my camera. I also wanted a long strap that I could sling it around to my back and across my chest and go hands free for shopping.
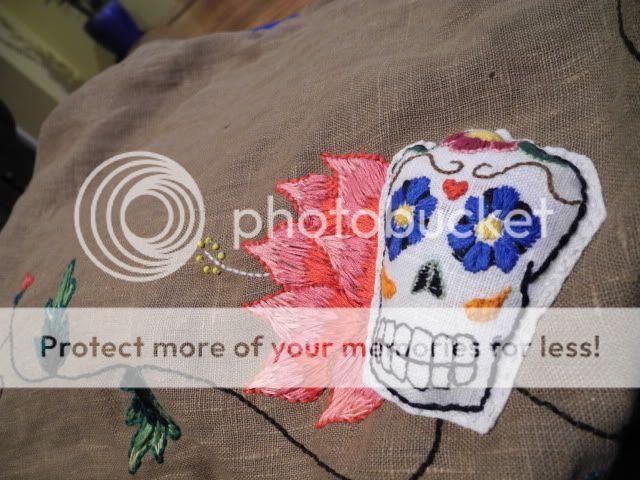
The "Day of the Dead" embroidery was something I really wanted on an accessory for a while now. I went with embroidery because it looks so custom and the colors are vibrant and lavish, it sure is time consuming so the look makes it worth it.


The purse is pretty basic, its really more of a casual sack, with a zipper closure, long strap and I sewed in a cell phone pocket for convenience. Its made out of natural brown linen I had extra laying around from other projects and the liner is blue cotton that I reused from a curtain I made and didn't like.


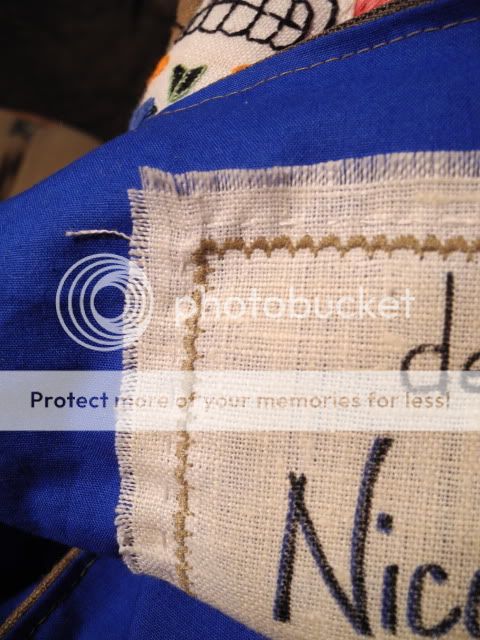
I had a lot of fun making this giant linen tag for the inside. I wanted it to look really fun and youthful.


I'm super exited to be experimenting with my sewing machine lately. This stitch on the tag is so cool, like a perfect scalloped edge.


Here is old skully pinned on before being stuffed and made 3-D.


I think it will be my "go to" bag for a while...until I make a new one!


The DIY Show Off

Saturday, February 19, 2011

I'm a Green wrapper

I declared my hatred for wrapping paper years ago, around the time I started getting invited to lots of baby showers, bridal showers, and kids birthdays. Seeing those trash bags full of colorful wrapping paper just got me peeved.
Okay okay I don't want to be a "Debbie downer" here. Sure who doesn't love a lavishly wrapped present with bows and shiny paper.

But when it comes down to it that wrapping paper just gets ripped off in seconds and thrown in the trash. Not the recycling bin, as its printed with non recyclable materials and laminated, and those plastic bows are just the same.
So instead of adding non biodegradable materials to a landfill I decided to get more eco-friendly with gifts and still manage to make them look pretty.
When I was around 22 I just went the easy route, with the color funnies from the Sunday Paper for family gifts. But showers and weddings presented a problem. These gifts were on display and the comics were not quite appropriate for those occasions.
The wrapping paper section at stores don't usually have a "green" or recyclable option, and to make it worse the options they do have are not cheap! On average a small roll of decorative wrapping paper will set you back about $5.00 for enough paper to wrap one large gift and the ribbon another $3.00 minimum. Gift bags are even worse. With tax that adds on about $10.00 a gift that's just getting thrown away.
That just doesn't make sense to me. I rather spend the money on the gift and come up with a cheap way to wrap them without damaging the environment.

This year I have been invited to a couple of bridal showers in the spring and we are going to the weddings early this summer so that means gifts! Here are a couple of make shift wrap jobs I came up with just using supplies I had on hand and a roll of what I call "every occasion wrapping paper".
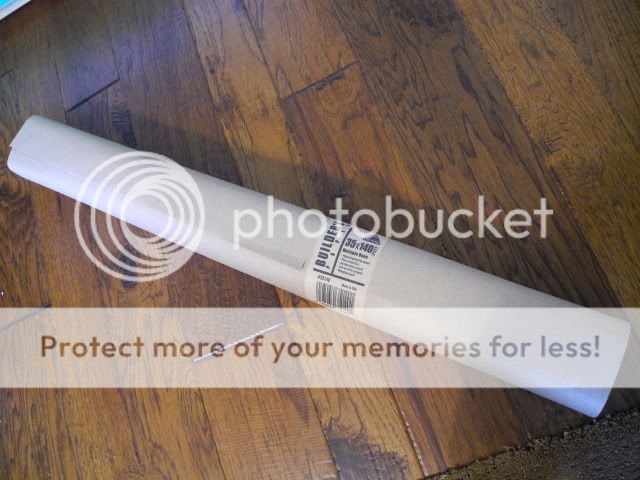
This 3 foot x 140 foot long roll of builders paper I picked up at Home Depot for $9.00 puts those $5.00 rolls of 6' long colorful paper to shame. I can wrap over 50 gifts with this baby, and recycle the paper!


I took a scrap piece of linen fabric from my scrap pile and hemmed it with a contrasting green thread.


I enjoy a earthy more subtle look to wedding gifts and white is always a good choice.


The brown, white and green combo are very typical "me" colors but this paper works with any colors you want to pair it with.
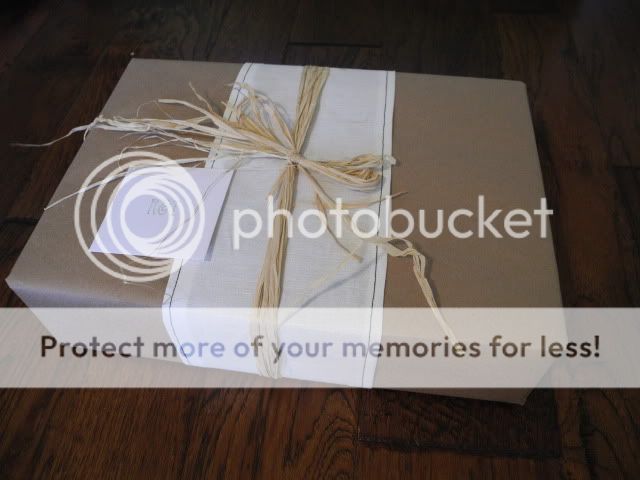
I took the linen runner I whipped up, wrapped it around the mysterious brown box and finished it with a raffia bow. The raffia (comes from a palm tree) I had in bulk from a hula costume I made a couple years ago. I customized a mini card with green initials of the bride and groom.


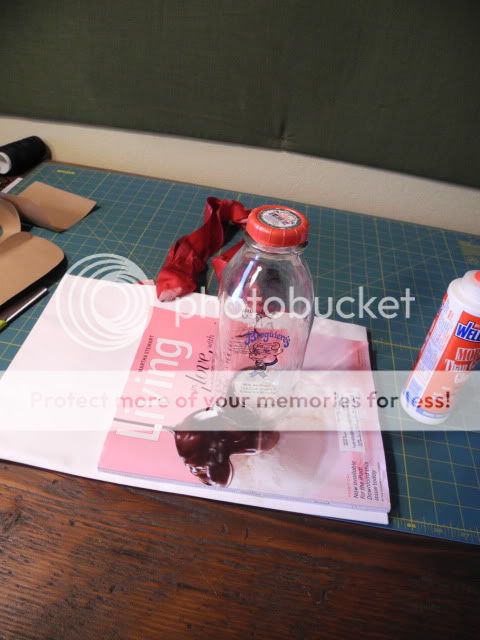
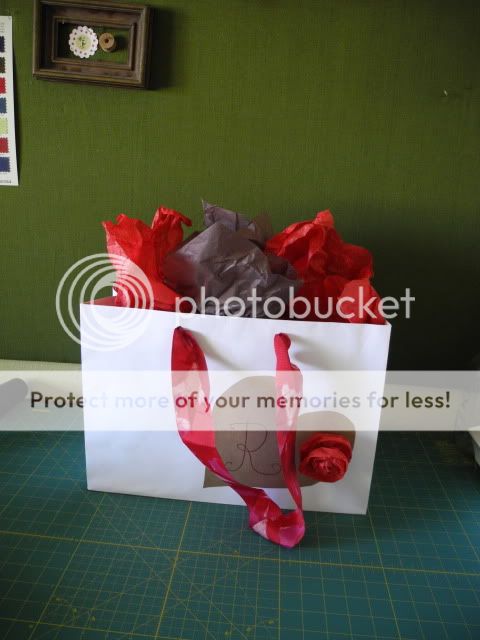
Here is the bride's shower gift. A bit more color to hers came from this up-cycled gift bag from a retailer.
A gift I received recently from Anne Taylor Loft came in this beautiful white paper bag with amazingly fun big grosgrain ribbon handles.


Normally it would be a big "no no" to stick a bridal shower gift in a reused bag with a retailers name on it, unless the gift was from that store. In this case it's not. But I think that's silly. Why throw this perfectly good and pretty gift bag away when it can be re used?

So I cut out some large hearts from my roll of brown paper.


Stuck them over the "Loft" on each side of the bag with a little wood glue.


Let that sit with weight on for about 10 min.


Then reused the tissue paper in a crinkled technique.


I cut it into strips and rolled it up in the shape of 2 roses.


Glued those roses to the hearts and drew on the bride's initial to make it personal.


I think they look pretty darn good for practically nothing in cost. I find it fun and really personal to wrap gifts in these unique ways. I hope that this trend catches on as its good for the pocket book and the planet!

Sunday, January 16, 2011

Oh happy day!

I can finally take a decent indoor photo thanks to my new camera!!! (and tripod) I got a Nikon Coolpix P7000.
I picked up a much needed new digital camera yesterday. After using the same Canon Elph for over 8 years it was time for an upgrade.
Here she is! I am just beginning to learn all that it will do, so keep in mind while straying from auto on this baby I may produce some weird shots.


So I would like to share with you our new fireplace all decorated and our new window treatments! I posted the drapes last week after I thought we were finished, but I ended up ordering more fabric and doubling the panels of linen and getting a new drapery rod. So here they are, fuller and the trim has been painted around the window from where we ripped off the shutters.
You can see the accessories I have added to the mantel, a trio of pillar candles a beautiful iron cross which we received 3 unique ones for Christmas gifts this year form Rory's Aunt. I hung the other two on an opposing wall to tie them in together. Oh also a plant on the mantel in a cobalt blue pot.


Before of our fireplace & shutters


Here is a new addition to our home a Zee zee plant, I hope I can take care of it well. You can also see my new tripod sitting on top of our trunk.

Saturday, January 8, 2011

Bye bye shutters

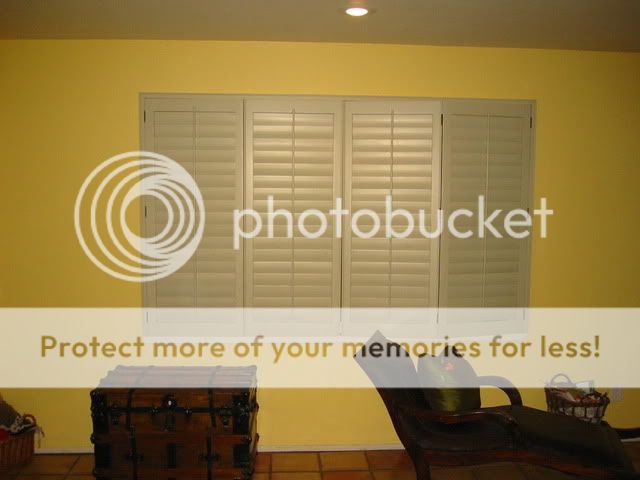
I took a plunge and decided to remove the custom shutters that covered our large window in our living room and also seen here in between our living room and sitting room. These shutters were here when we bought the home, and by the state of them they had most likely been installed over a decade ago.
The main reason I wanted to remove them was their lack of ease when trying to operated them. We spend a lot of time in this room in the evening so we preferred them shut for privacy, but during the day I would have loved to be able to open them and let the light in. Doing that was a lengthy process that usually involved me struggling with the somewhat dilapidated shutters, until frustration set in and I would just shut them.
Here they are in their lovely putty color goodness, the other option besides removal was to repair the broken parts and somehow paint them a more complimentary color of white. I started to think about how difficult it would be to paint moving shutters, and I quickly decided to take them out, it started to hurt just thinking about the free time that painting them would involve.
(the flash really makes the yellow look bright, its not really this color in real life)


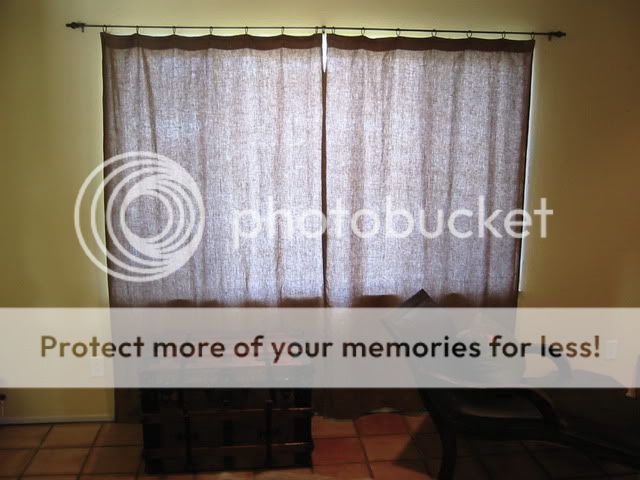
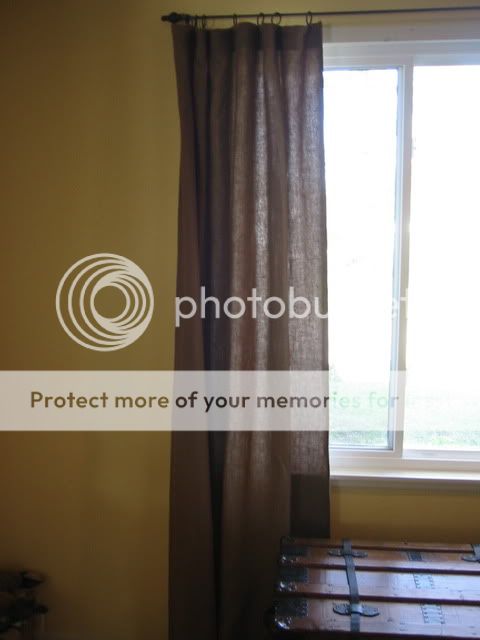
So here we are today. I took out the shutters and whipped up some linen curtains last night. Now we have privacy at the flick of a wrist! Its so easy to "swish" them open and closed just like that. I even think they look better.
I still have some repairs around the window where the shutters were attached and bit of sanding & painting, but I love the difference so far.


I mean look at that view that we get to see now that the window is open, and the light poring in is great. The shutters darkened the room so much that during the day we would need the light on. So it just proves that decoration really should be based around practicality more than anything.
I love seeing our giant oak tree out front, I can't wait till there are leaves on it again.


The brown linen curtains are just more fitting in the room than the gray putty colored shutters ever were, and best of all they fit our life style.


The only thing I wish I could have done was make the drapes wider. The window is 98" wide and my linen source only has 59" width fabric. So after sewing & hemming the 2 drape panels I made just barely cover the window.
Ideally I would have just bought 2 of these 100" wide x 96" long Belgian linen drapes from RH, but at a whopping $767 + tax I thought making them myself even if they would be half the width it was good enough!
Related Posts with Thumbnails