Showing posts with label Upholstery. Show all posts

Friday, March 25, 2011

Slipcover in minutes

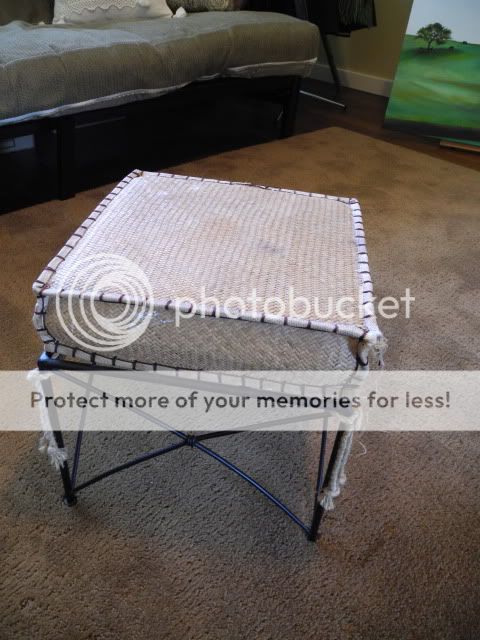
This little stool has been through a lot. After our home renovations especially our master bath & the need to stand on it while tiling has left some thin-set and grout stains that just won't come out. We do have a real step stool but in a pinch when both of us were tiling this little guy sure helped.


Well I walked by our guest bathroom today and saw it sitting there so sad and stained. I decided to make a little slipcover for it.
I had this fabric, which is just white linen that I painted with fabric paint. I painted it originally to make a decorative pillow, but the pattern clashed with our rug so its been sitting on my fabric pile for months.


I pinned it and stitched it up on my machine with a simple corner.


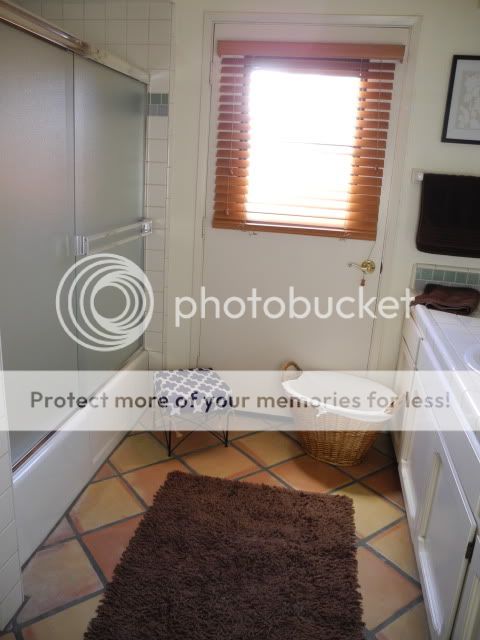
I think it adds some fun color and pattern to our fairly plain guest bath.
Which by the way this is the first time I have posted a picture of this room in our house. Its the only room that we really haven't done anything to since we moved in and painted. Its all original, so that's why I'm not showing it off. But the cute little stool helps, I think?


Sunday, August 15, 2010

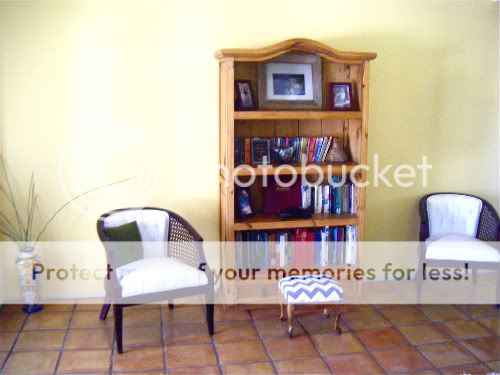
Zig zag footstool

Remember this little guy?


I scored this cute old little footstool base at an estate sale months ago. I have been wanting to restore it for a while but I couldn't find the right material. I wanted something that would match the ginger jar that Rory got me for my birthday.


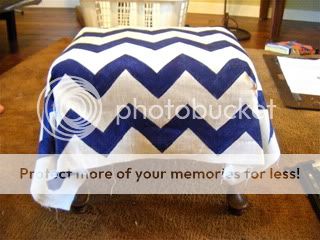
While I couldn't find any thing to match, I decided to paint the pattern with fabric paint. Here is the finished stool, it only cost me $5.00 for the wooden stool base, and the cost of the fabric paint, everything else I had from previous projects.


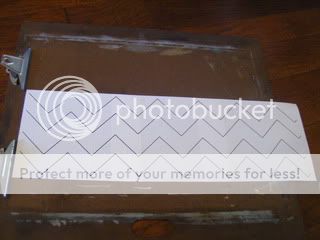
I used the white linen I had leftover from the two cane chairs I finished last month. I practiced on a scrap trying to find the right shade of blue. I printed out a template that I quickly made in photoshop.


The material is slightly see through so I placed the template under it and traced out the zigzag pattern with an embroidery marker that comes off with water. You can barely see the light blue pen mark in the photo but it was very apparent in real life.


I used a nice square firm brush to fill in the lines with the perfect shade of blue. Once the paint dries you just iron the back side of the fabric to set the paint in, then it is waterproof and washable. It is actually great stuff, and was my first time working with it. I used Jacquard Textile Paint, in a mixture of Navy, Sapphire Blue, and Violet.


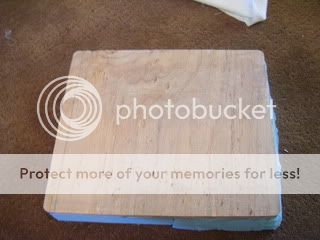
With the supervision of Rory, I used a skilsaw and cut out a plywood base for the cushion. I pieced together two pieces of 2" upholstery foam that I had from the chair project. Just a bit of spray contact cement to bond them together in the center and to the board.
~That is why I can't throw anything away, you never know when you are going to need it.


A piece of badding goes over the foam and I upholstered the whole thing with a piece of white liner material because the linen is slightly see through.


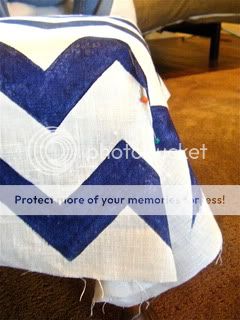
After I stapled the white liner material on the cushion I laid the zigzag material over the cushion, then pinned the corners so that I could sew a neat corner seam for a fitted look.


Here it is almost done, I trimmed the excess material then stapled to the bottom a piece of black dust cover.


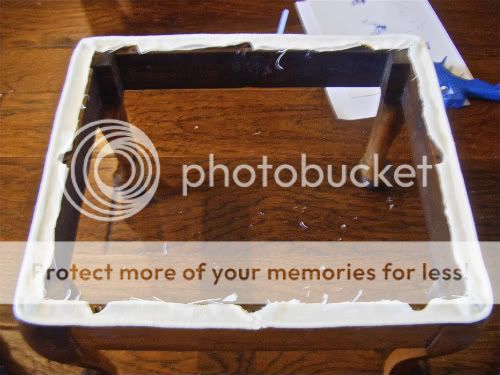
Last minute we decided it would look great with a trim of single welting. I was not hesitant to add that to the project as I was eager to try out my new single welting foot that I bought after my last upholstery project. Let me tell you this foot was worth the $5.00, it made making custom welting a piece of cake!


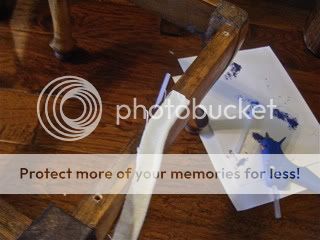
I hot glued it down to the wooden base, then trimmed around the screw holes.


Then screwed the cushion to the base.


Voila!

Saturday, June 26, 2010

Too much chair posting?


Well I think so too, so this is the last post I swear!
I finished the 2nd chair today while I watched the USA vs Ghana game. I was yelling at the TV while I struggled with the upholstery staple gun. It was giving me trouble, then Rory fixed it but had to oil it in the process. The oil then got on the white linen after I had diamond tufted the whole back. But I got it out! They are a cute little pair and have come a long way since the smokey and floral mess that they once were.
Before


After

Sunday, June 20, 2010

Chair Before and After

I couldn't wait to share the transformation of these chairs, in fact I only finished one so here it is even though it's not a fully finish project.
I bought these 2 cane sided barrel shaped chairs just last weekend at an Estate sale. The home was clearly owned by a heavy smoker and these two chairs although a bargain brought the odor along with them. I left them outside for 4 days, ripped all the material and stuffing off of them, sanded the wood (which also smelled like smoke) then gave them two coats of oil based stain finish called Polyshades by Minwax in Bombay Mahogany.
I bought all new foam and materials, the fabric is 100% Linen in a creamy white. It was a lot more work than I expected, the upholstery job was challenging but I think the first chair came out pretty good.

Before


After


Before


After


The 2nd chair will go on the other side of the book shelf to frame it. Now the walls above are looking a bit bare to me, I might have to get back to painting soon...


*Here is a little more detail on exactly how I did this.
I removed the screws that held on the seat, carefully stripped off all the materials one by one on both seat cushions and on the backs of the chairs. (I wore a mask and gloves, that's how smelly these were)
I took pictures of every step so I would remember how to put it back together with new everything, and I even kept one seat foam cushion and the foam from the chair back for a template for the button placement.

I washed the chair frames with a wood cleaner first and then dried them. Then I sanded the chair frames with a sanding block 180 grit then 220. I lightly sanded the caning with the 220 just to give a little rough surface for the stain.
Wiped them down to remove the dust then painted on thin coats the Polyshades, which is more of a paint varnish than a stain so you don't need to sand too much, it kind of lays on top on the wood but is still translucent. It's oil based and I found it too thick after the first coat, so I diluted it with turpentine on the second coat. Extra thin coats on the cane parts, I waited a day between coats.

Here is the close up of the old finish


After 2 coats, it was done.
Here is the frame fully refinished ready for upholstery, the red rich mahogany color came out great and it now matches our bar chairs and dining set.


The seat backs consist of many layers 8 to be exact if you count the buttons as a layer.
The first layer is the Linen fabric for the back, then a layer of dacron (white polyester badding) then webbing straps for support, then the foam with holes punched out for the buttons, then more dacron I used a liner fabric of white material then the Linen outer fabric. The buttons were made using a 5/8" button kit and I used cotter pins to secure them with a special washer thing I took off the original upholstery job on the chairs.


I used this technique on Apartment Therapy for the diamond tufting and had done it once before on a larger scale for this headboard. I copied the pattern from the material I took off the chairs, which made it easier. The tufting is done before I stapled it on the chair frame.


Then I made what's called double piping or welting and hot glued it to cover the staples and give it a finished look. Double piping up close.


The seat cushion reupholster job was much easier and pretty basic, a layer of dust cover over the springs, then foam, a layer of dacron, a layer of white liner fabric then the Linen. You wouldn't need a liner fabric if you have a thicker upholstery but I used this a 7.1 oz linen and you could see through it just slightly.
I spray painted the frames of the seats black (just because I had black spray paint) to seal them and cover the smell of smoke that was in the wood. A single piping edge was stapled to the frame before I screwed the seat bottom back on.


Sunday, February 21, 2010

Burlap Headboard


Our Guest room has been a bit neglected over the last few months as we have been busy doing other renovations. The the mattress in there is quite comfortable but to make the room even more inviting I made this padded headboard. It is diamond tufted and upholstered in burlap. I followed the tutorial on Apartment Therapy.

And I used this as my inspiration.

Velvet & Linen

The room still needs a lot, some paintings and pictures hung, and a bit of decor.


Baxter my little helper here jumped up to give me a hand, as usual.


Super easy and we love it!


The DIY Show Off
Related Posts with Thumbnails