Showing posts with label Painting. Show all posts

Friday, March 20, 2015

We took a wall out!

I finally talked Mr. B into taking our entryway wall out!!
We always wanted to, but after 5 years of other renovations it was forgotten about. Recently I have been reminded how much I disliked the close quarters that our entryway wall caused, it was especially bad when company came over. They would walk into this small, low ceiling room where I was standing, and immediately we would all need to go left or right. It was always pretty awkward. 

I did like the decor in there, the lighting and wall were a perfect space for my painting, and the entryway table held my absolutely favorite birthday present ever, the cobalt and white chevron striped Ginger jar, hand made from Mexico, Mr. B got it for me years ago. It was quite a way to showcase those pieces.
But....the ceiling was literally almost 9" lower than the rest of the house in there, and you had to walk through a narrow area to walk into our house to the right, or step left into our sunken living room.
The space was just not very comfortable to be in.


Entryway with wall


Here is the view of the back of the wall, from the family room. We never really used that couch, it didn't lend itself to a nice place to sit. Bye bye wall!

Here is a view of the wall from our bedroom hallway (this was mid kitchen cabinet remodel)

Our framer was telling me that we may have to keep this small 18" part of the wall depending on the load bearing issues we would face once they tore into the drywall. I was really hoping that wouldn't be the case, having a weird vertical little wall would have been so hard to decorate around, let alone walk around.
Demo day! The guys found a large load bearing beam running along the ceiling, and it had to stay, but the whole wall was able to be removed. Yay!

We also had our guys rip the drywall off the ceiling in the entry way and raise it up 9" to match the ceiling in the family room. It was then covered in the same tongue and groove wood and beams to match as well.  

What a mess!!! But it was looking better already :) So open!


The ceiling being elevated was a huge help, you can see it here just slightly, but in person the feel is really quite a difference.
You can see here where the ceiling started in the entryway (the yellow drywall stopped where the ceiling was). Bringing it up to match was a great help. But like I said, that giant beam running through the room had to stay, I would have preferred it gone, but we plan to paint it all white to blend in.


The craziest thing about this wall removal, is that we discovered the wall was at some point an addition! Must have been added sometime in the late 1980's. I thought for sure it was part of the original 1970's cavernous design, but in this photo you can see the original tongue and groove is painted brown, showing that the room was once all opened up, just as we would have liked it (well aside from the color scheme, who paints a ceiling dark brown?).


Here is a view from the kitchen to our front doors. It's so much brighter in our family room, I just love it! Now we just need, drywall, tile, and then paint.


The drywall guy did a fast and a great job matching our texture. Our Saltillo tile floor was in need of some patching. Our tile guys popped out the partial tiles and matched (as well as possible) the older tiles.


You can see the newly laid tile here, before sealer. They should darken up to match the older ones, with a few coats of glossy seal. Mr. B got right on paint, here is a shot of the first coat on the ceiling and beam, the walls are done. 


Mr. B also cut in the holes for our can lights to go back in for the entryway. Looking better with paint!


• • • 

All done!!!
Here is our new entryway/family room! One step closer to an open concept home. I think it's made a HUGE improvement. It has brightened the whole living space up. The flow of the house just feels better, and certainly makes more sense. We are actually using the room, where before we just used it as a walkway to the kitchen. Its so much more inviting and comfortable, it's one of my new favorite rooms to hangout in now.


Every time I walk in the front door, I'm pleasantly shocked at how open it is.


 Just a little fun before and after, I think its like having a new house!


Till the next project!


Sunday, May 12, 2013

Nursery complete, well minus one thing...

The final touches are done and we are ready for baby. The nursery has had a lot of additions since the baby shower. We received so many wonderful gifts, & I picked up all the other little necessities and I've had so much fun setting them all up!

I finished the final painting that hangs above the crib.  It says, "Keep clever little FOX" "Be brave little BEAR" & "Grow wise little OWL"


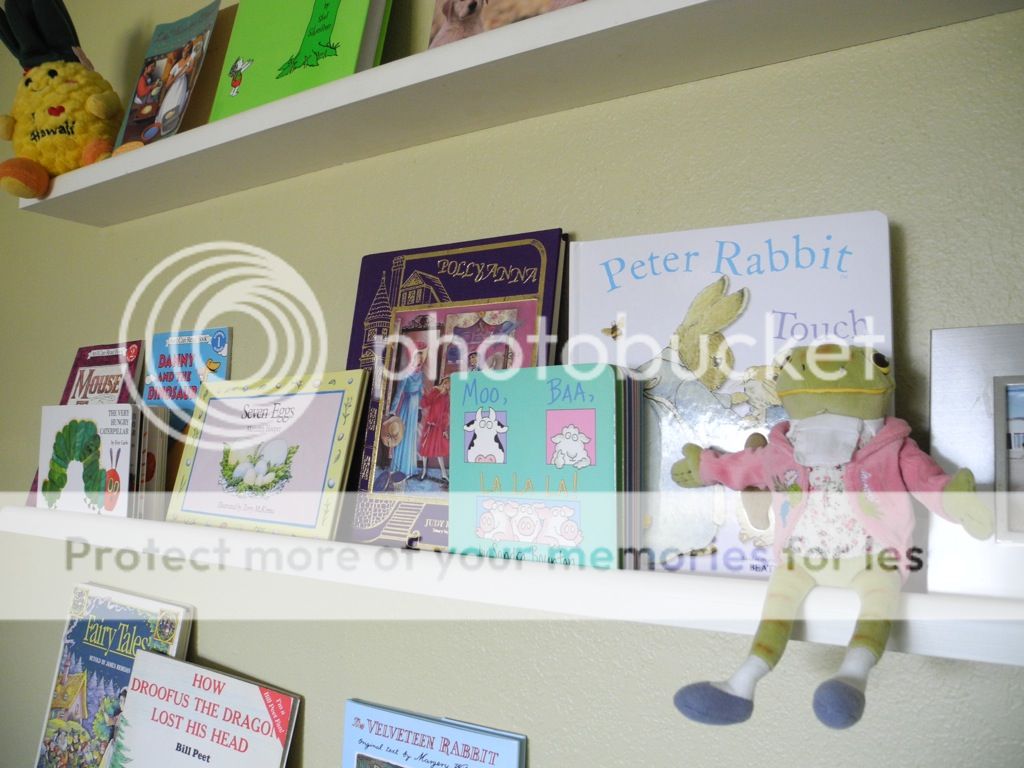
The wall of books is really filling up, with some adorable stuffed animals from our shower gifts here and there.


Mr. B installed a closet rod in our existing TV armoire and I converted that space into a little closet for all of her adorable things!
Some of the dresses are just so cute, I can't wait to see them on her.


The "changing station" is all ready to go! Mr. B picked up this awesome stainless steel diaper pail in the cutest color, Robins Egg Blue, its an Ubbi brand pail.


The bassinet has been set up for a while, and I plan to keep it just by my bed for the first few months for convenience during night time feedings.


I picked up a few organizing baskets to keep all the important items right there at hand. Including this adorable Fiestaware turquoise creamer at a barn sale to store pacifiers and other detrimental tools!


Yesterday I went to a fun event at a friends Ranch. It was a collection of different local artists, craftswomen & men selling their goods for a benefit. I had a great time, and picked myself out a few early Mothers Day gifts.
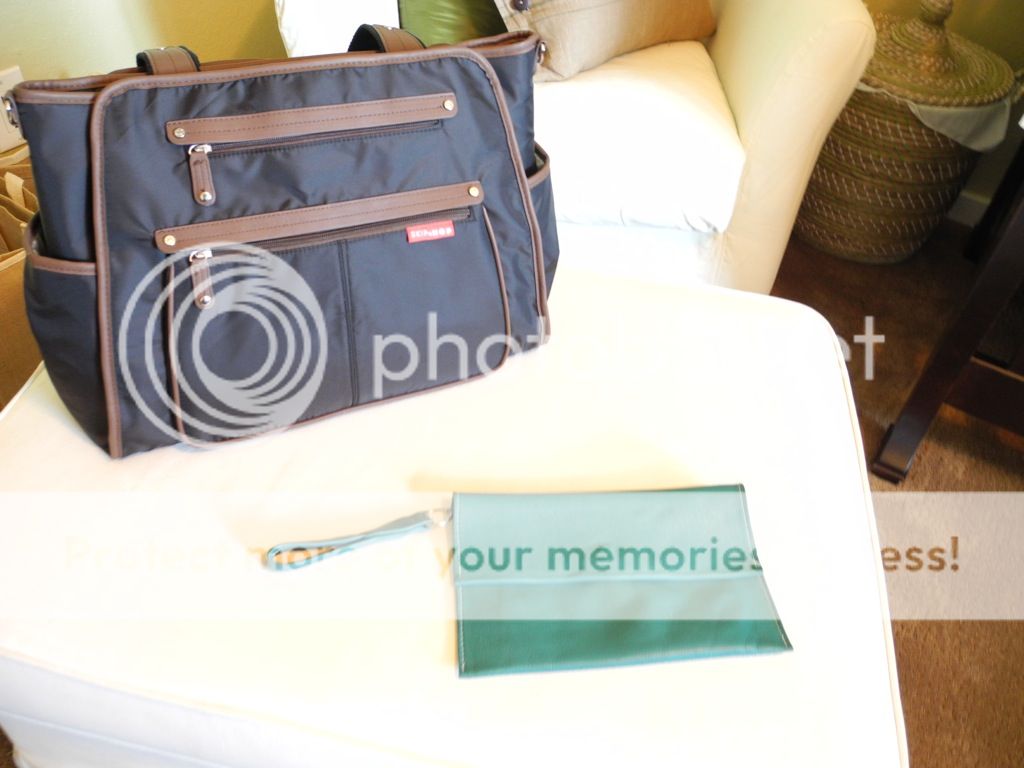
My favorite is this handmade Turquoise leather clutch bag. The photo doesn't do it justice, the quality of the leather is so wonderfully soft and touchable, yet thick and durable. It holds my giant wallet and phone and few other important items and fits perfectly in my diaper bag...which I assume is going to be my new purse.

The Laundry room got a new decor piece too, I picked it up at the Barn Craft Fair as well. It's a handmade wooden sign with just my colors, and the cutest saying. As you may know I will be spending more time in my laundry room, so I might as well love the way it looks!

The best part is that the sign completely covers the ugly plumbing for the washer!


Now we are just waiting for Baby B to make her appearance!
Happy Mothers Day to all the wonderful moms out there! Mom you are the best!!


Monday, January 14, 2013

Baby bookshelves

Mr. B built the baby some new shelves. After I requested some of course, he would prefer to spend every minute in the garage working on the car project. Good thing these shelves took hardly anytime for him at all!
I got the idea for these narrow picture gallery style shelves for the nursery after searching for it on pinterest. I started shopping on Amazon for shelves like this to purchase. They were around $25 -$35 a shelf, plus shipping!! I was not thrilled about that. The total cost in materials was $22.00 in molding, screws and anchors. He made me 3, 4 foot shelves.

We didn't want to make an entire gallery wall like the inspiration photo below, although I love it, it feels busy for us.
Inspiration


Mr. B built the shelves in about 20 minutes. They are constructed out of baseboard molding pieces, primed MDF 2"x 1" and 3"x 1",  also 1/4 round in 1/2" out of pine.


I then painted the shelves, with two coats of some paint we had laying around from when we bought our home. Its Behr paint and primer in one, in "Cotton Whisper".


Here they are installed up on the wall parallel with the window wall. 


The best thing about these shelves is the low profile they have. They work great for areas that you can't afford to fit an entire deep bookshelf. Also they display the adorable children's books so much better than a regular bookshelf

We have added a few of our own children's books from way back when.... I also added a couple pictures of Mr. B when he was younger and a couple toys.


I loved being read to as a child, and I cannot wait to share that experience with our daughter. It leaves such a lasting impression on young children.

I kept my favorite books in such great condition too, even though for years I read them nightly they hardly look used. I've had fun adding some great new books to our baby registry, hope she loves them all!


Saturday, January 12, 2013

Nursery Art: 1 down, 2 to go

I posted last week about how I plan to paint the 3 canvases I have had laying around, and use them as art for the nursery. After all we do need something fun and cute to fill up the walls until she is painting for herself!

I have another project going on in the meantime (I'll post when it's done), I only got one painting done this week, but it's my favorite.
The Owls!


Here is a close up of the little guys.  

I plan to paint a Tree on the next canvas, and the last one will be her name. That one may have to wait until she is born, as we haven't chosen one yet! I just hope I have time to paint it after she is born...
I am excited about all the joys our little one will bring, but I am not oblivious to the reality that it will be hard. This video I found, takes the burdens of motherhood to a hilarious level. Hope you enjoy it!


Saturday, January 5, 2013

Let the Nesting Begin!

I have begun to have that "nesting" feeling happen, and I am loving it! After over 3 months of literally zero energy, I am very happy to say that I have been able to start our nursery decorating and moved our guest bed into my craft room. I am now into my 21st week of pregnancy.

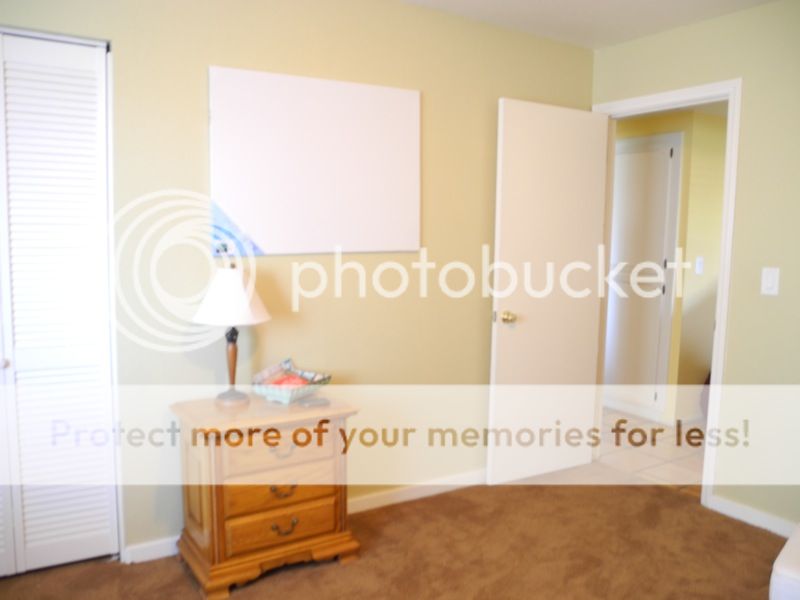
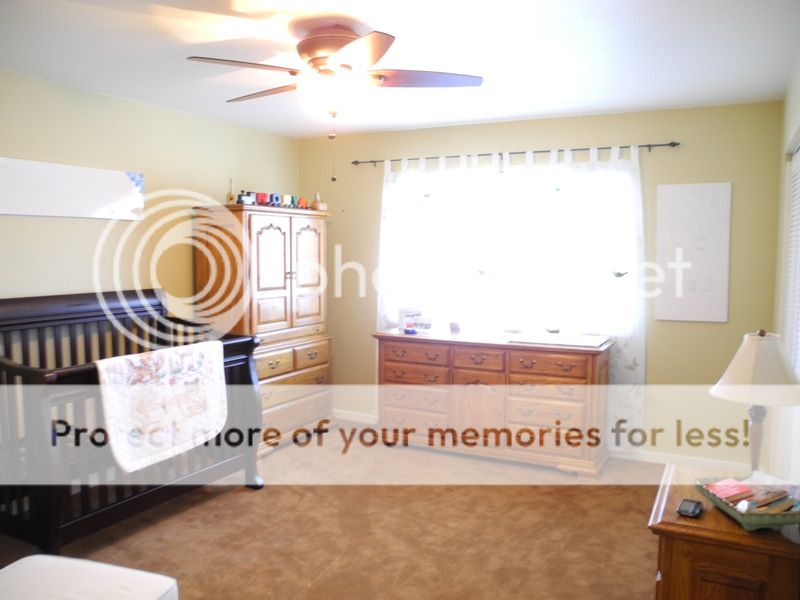
Here is a previously taken photo of the guest bedroom (now our future little one's room).
We have a 3 bedroom home, that is shrinking by the minute. My craft room is something I cherish, and use on a daily basis. I am coming to grips with the fact that I may not use it as much once little B makes her way into our lives. But for the next 4 1/2 months, I plan to use it every minute I have to myself. So the queen guest bed has moved in on my space in there, (thank goodness they are large rooms) but I am making good use of it. In fact I am blogging while sitting on the bed right now. Its kind of nice to have a soft place to lounge while researching craft ideas, inspiration, or while blogging!

I have also begun a complete clean out and organization of my craft room, so I will have a useful space and know where everything is.

Now for the Baby's room! 

Originally I was going to paint the room a turquoise/sea glass green, but the more I thought about the neutrality of the current paint color and how much I love it, I decided to keep it this pale green and go with a nature inspired nursery. It's "Outback" by Behr. 

We bought a crib! It was a Costco special, and I just couldn't pass it up. You know how Costco is, sometimes they get things in for only a week, and with only 4 in stock, it being a 4 in 1 crib to bed convertible with all accessories included, and a solid hardwood construction, it was a no-brainer.  Sure the crib is a dark espresso stain, and doesn't match the golden oak armoir or dresser, but who cares?! It works, and it's just mis-matched wood colors, not the end of the world.
We also picked up the comfy chair in the corner, just yesterday. It matches my already existing ottoman, and is also a removable slipcover style, so it's easy clean up if anything should get on it. I love washable furniture. 
 
As you can see I have blank canvases all over the room, 3 to be exact. I bought these years ago at an art supply's 50% off canvas sale. I've never gotten around to painting masterpieces on them and I thought I could easily paint nursery art for some cheap decor! The one above her bed, I plan to paint her name on it in a branch style font.


This one is most likely going to be a whimsical tree. 
So I have been pinning (on pinterest) inspiration for Nature Themed nursery art. Mostly Owls, which I love, and trees. In colors that lean a little more in the girly direction, because after all we are having a little girl :) 

   
Here is a sketch of the painting to go to just the right of the window. It's little owls sitting in a tree, in a night scene. I hope to start on this painting today. I'll post a photo when it's done. 

Here is my latest purchase, and hopefully one of the last for decor in here. I picked up these sheer window panels from Cost Plus World Market yesterday when we bought the chair. I was planning on sewing curtains in a plain white solid fabric, but when I saw these I just knew they would be perfect. They are light and airy, with a botanical theme, and a little felt birdie ever so often that matches the green wall color so well. 
I just hung them up last night after Mr. installed the curtain rod, and I haven't gotten around to steaming the fold lines out yet, don't judge me! 


It's coming along well! I just love going in there and dreaming of things to come. I'll try to post any updates as well, I know I've been a bad blogger. Hopefully a new year will change that.


Friday, May 4, 2012

Mom's Sunny Kitchen

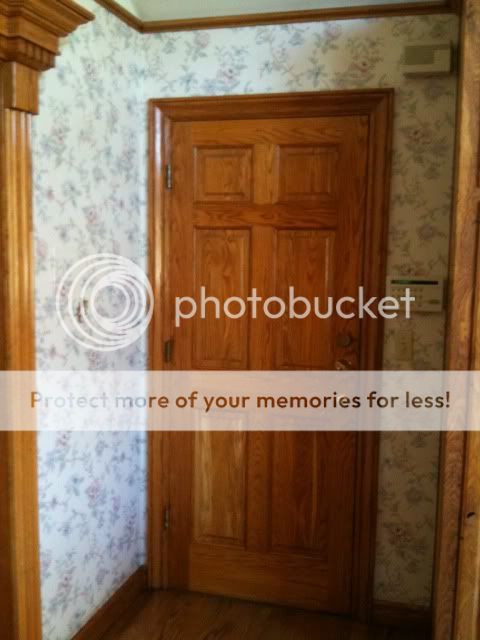
My Mother's beautiful kitchen, needed a bit of a face lift this spring. So at her request while she was out of town, I removed the pink floral wallpaper that was installed before they bought their home and then painted it a totally different color.

Here it is before.


This angle is really hard to capture due to all the light coming in from the high windows. You can see the wallpaper continued up to the ceiling WAY up there.


Luckily Mr. B has a good friend that owns a wallpaper business, and he came by and removed all the paper for us, and did it in no time! Plus no mess. It was SO worth it.
Mr. B patched any holes and sanded. I primed and then we tested swatches. My mom really wanted a sunny yellow, which is some what of a risk, especially with all that golden rich oak.

Picking the right yellow was the hardest part! First we painted some of my moms choices on cardboard pieces.


Then we tweaked the colors and put those up on the wall.

We ended up going with the second swatch from the bottom, it's a custom color in flat using Benjamin Moore paint.


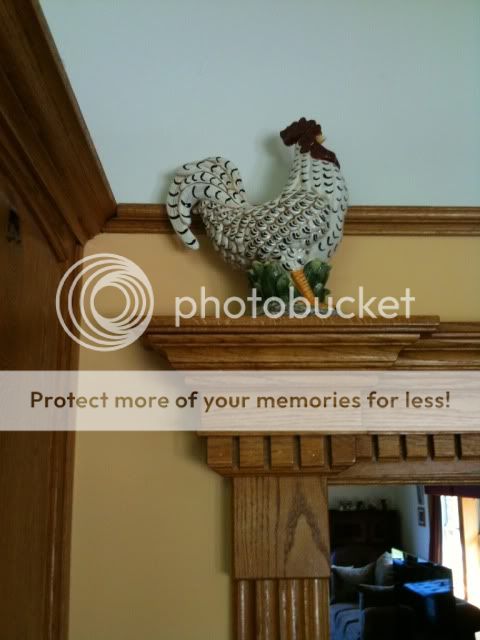
Here it is! Complete with ceramic speckled chickens, our favorite kind of chicken.


I mean how cute is this chicken?


I had to adjust this image to be able to view the color. I have no idea how to take a picture with my phone against such bright windows.


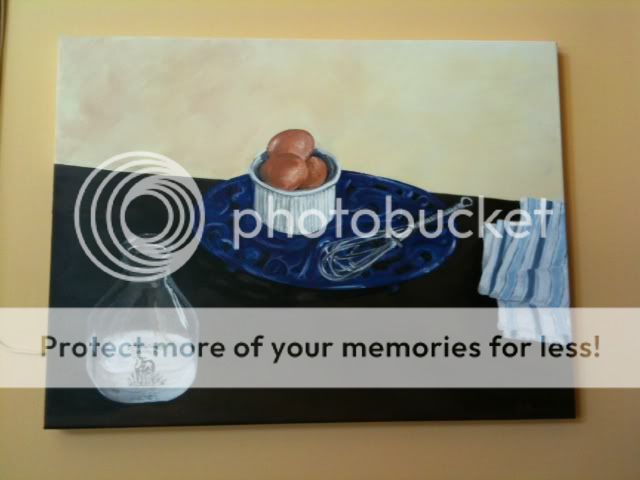
I also painted a quick kitchen still life for my moms corner, mainly to cover up a phone jack that was unattractive to look at. The painting still needs a frame, but it works for now.
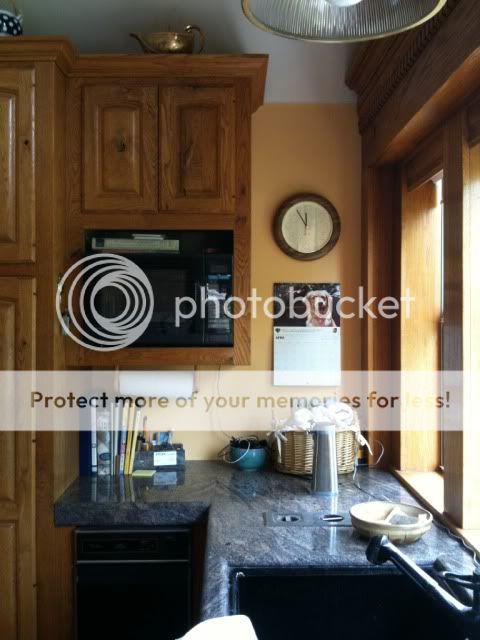
You can really get a good view of the wall color in this shot.


I think the improvement is clear. She is really happy with our choice of yellow, and that's all that matters. I just wanted to give her a great (early) Mothers day gift that she loves! '

Before & ..................................................After!


Related Posts with Thumbnails