Sunday, May 15, 2011

DIY Quatrefoil Mirrors

Our Living room has been a decorating work in progress. We updated and refaced our fireplace this last winter, and then I removed the gray shutters from our large window and replaced them with linen curtains for a much improved look.
On either side of the window I have been wanting to put up something to finish the wall and add a shape of interest without too much time involved. So we whipped up two quatrefoil shaped mirrors from scratch. I got the idea from these online at $139.00 each on sale from $168.00 each.
I love the quatrefoil shape, it lends well to our style. Its has a very Moroccan look that I love.
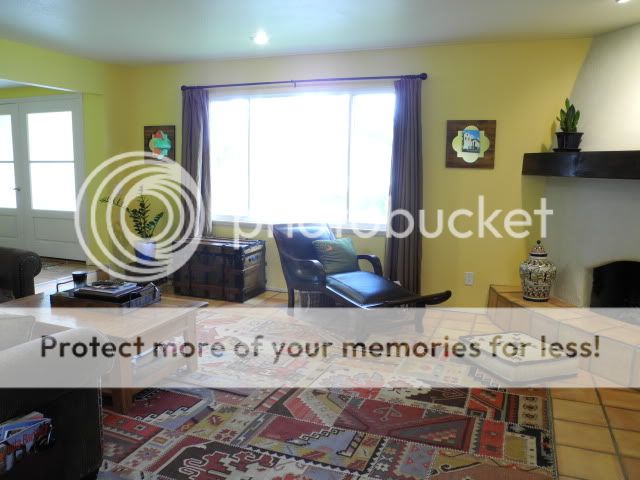


Each mirror is 18"x 18" and we finished them in a day.


So here is my "How To" if you are interested in making some yourself.
(click on images to enlarge)
**Warning some fancy power tools necessary**

What I used:
• Two 15"x 15" mirrors that I had custom cut out of 1/8" thick mirror from local glass guys. $20.00


• One 8' x 12"x 3/4" piece of pine wood, $10.00 cut into 18" pieces and glued together and clamped in the center seam. Mr. B did this for me.
• Wood glue
• Clamps
• Table saw
• Jigsaw
• Router
• Silicone
• Wood stain and finish in one
• Hanging brackets $3.00
• Two drywall anchors
• Two screws
• Masking tape
• Measuring tape
• Sandpaper
• Scissors, pencil, scotch tape.... other random DIY things everyone should have

Here is the seam being glued and clamped.


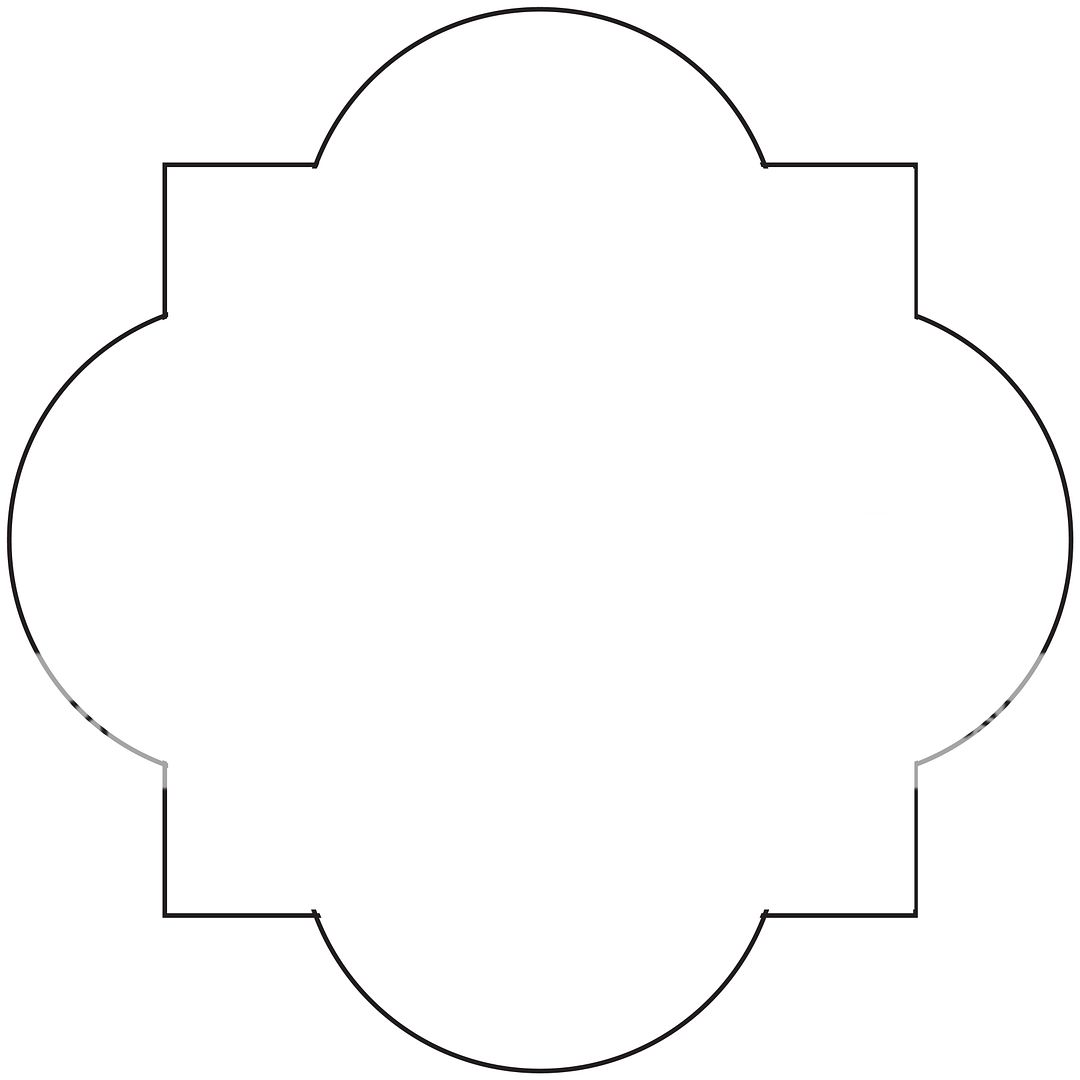
• A 14" Quatrefoil template, I made in InDesign, you can get the image here if you would like to print it, you may need to adjust the size on your end.
I printed it in 4 sections and taped it together then cut off the outer edges.
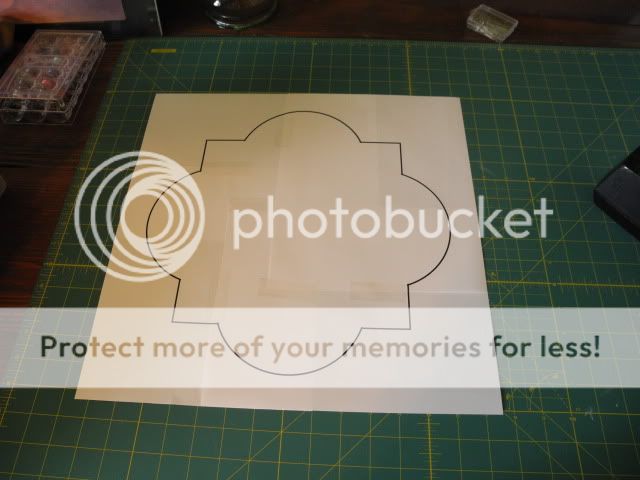
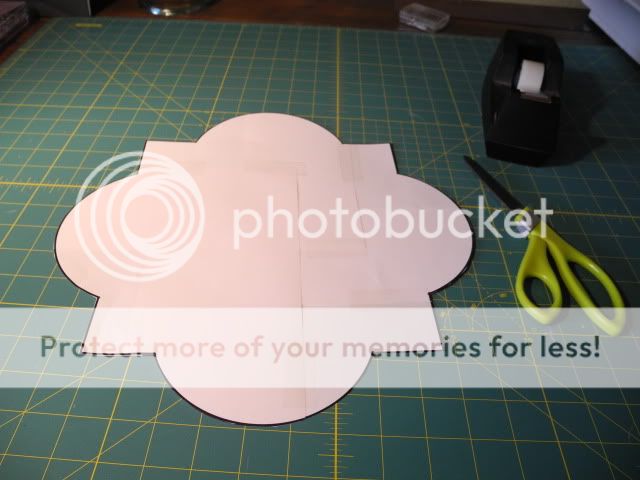


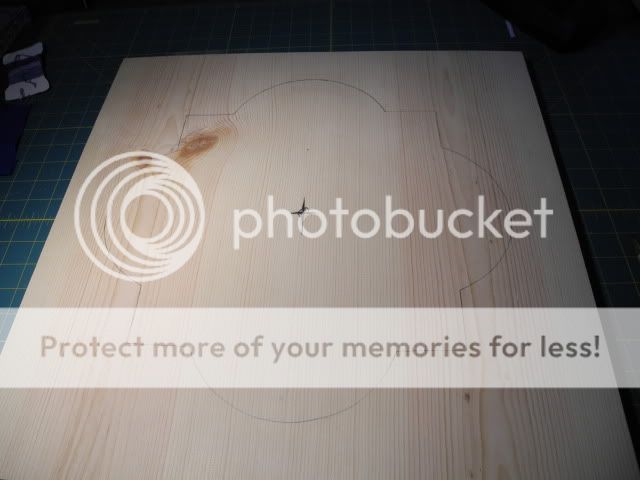
I traced the template with a pencil after centering it on the 18" square piece of wood.
Then Mr. B used his Jigsaw to cut out the shape. He then Routered out a 15" square on the back at about 1/8" for the mirror to fit on the back flush.

I sanded and stained both, let that dry.
I used Silicone to adhere the mirrors to the backs of the wood in the groove cut out by the router. I let the mirrors set overnight face down.
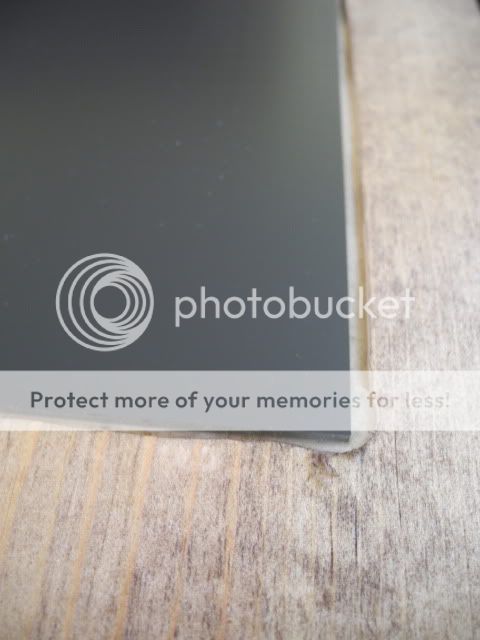

The next day I nailed one bracket to the top center of each mirror.


You can see my custom "termite holes" that I added for an aged look before staining.


Here the are ready to be hung up.


Mr. B anchored two screws on the wall, I use the masking tape technique for easy clean up.
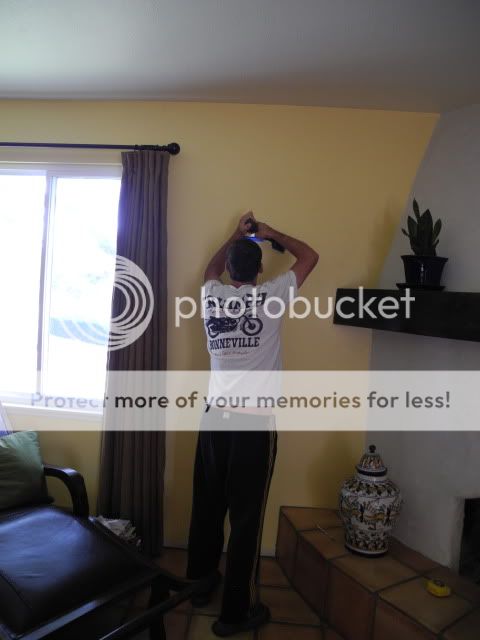


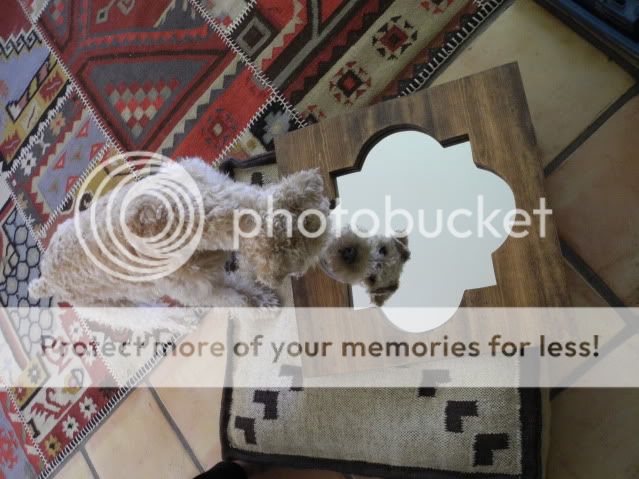
Side note, while Mr. B was busy putting the screws in the wall, Baxter was infatuated by his reflection in the mirrors. He stared at him self and scratched at his reflection over and over again.
Mr. B took this as a message that he wants a friend. Which means dog #2 for the "B" household. I am not so sure about that!


Here they are all done and in place, I think for the money they are a great addition. The whole project cost us about $33.00 since we had the majority of the items already.


What do you think?


Wednesday, May 11, 2011

I'm on Vacation!


Well we were!
Mr. B and I just got back from a much needed mini vaca to the lake. We rested and played and enjoyed the awesome views. The lake was 100% full thanks to all the rain we had this year. Its the first time since the early 80's that it has been this full.


Of course knowing me, I couldn't stay away from a project while I was supposed to be vacationing. On the way up to the lake we stopped by the craft supply store, and I picked up beading and jewelery supplies and made 2 beaded wrap bracelets.

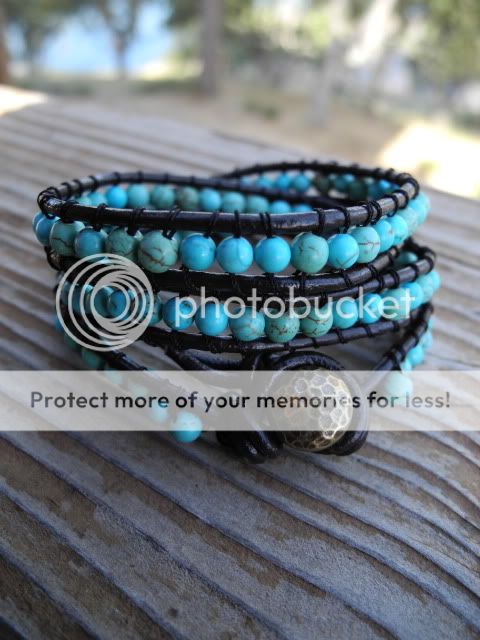
This one below is made of turquoise round beads and dark brown leather cord.


The other one is a fun multi-colored onyx, unakite and turquoise beads with caramel color leather cord.


I enjoyed my bracelet project just as much as all the tanning, reading and relaxing I got to do on our little trip! So now back to work...


Sunday, May 1, 2011

DIY Showoff Rules!

So I won the "Earthly Essentials Giveaway" on The DIY Showoff blog!! Yay, free crafting supplies!!!
I entered a few of my projects using natural materials such as burlap, linen, jute, and rope. I won with my Purse entry just by luck of the # draw.


Oh I cannot wait for the goodie bag, and the crafting that will come of it....


Frosted glass with flare

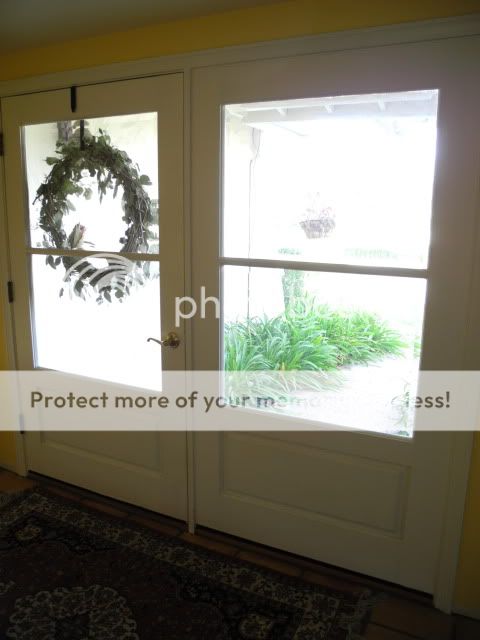
These are our front doors (actually only one door opens) they have 4 very large panes of glass so everyone can see right into our living room, which can be an issue. We haven't had that many visitors unannounced in the last year and a half since we moved in, but after a few recent drop-ins while I was sporting some not so covering ensembles, we decided to make the inside of our home more private.
Before


So we played with the idea of changing out the glass for a few hundred dollars to privacy glass, like seeded or frosted. But I just couldn't make the permanent commitment.

I do love seeing through the front door, I look at our beautiful oak tree out front (I can also see it out our living room windows) and when visitors do come by I like to see who they are before I open the door.
So I came up with an idea on how to make the glass private during the day and night but also see through the glass a bit.
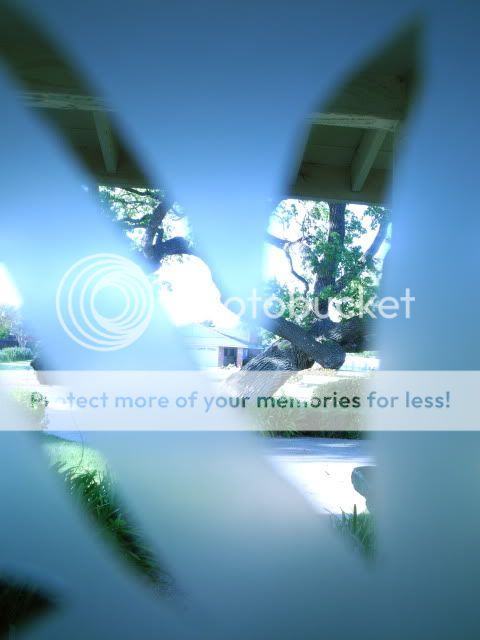
Here is a partial view of our tree currently.


So I bought a $20 roll of stick on velum in frost, and then cut out the shape of our tree. I focused the majority of leaves and cut outs where we would need to view the faces of our visitors. And not so many where they can really see into our living room on the right. Plus its the same shape as our tree out front.
After


For $20 and a bit of patience with an exacto-knife its an easy trial run. I can always take it off as I am still not quite used to it. What do you think?


Okay okay, its not ideal, but it gets the job done and I like that its unique and that I DIY-ed the design myself.


It still lets in light, an option we thought over for a bit was changing the doors out for solid ones, but we quickly decided that would be too dark and close the house in.


Here is the view from outside.


We will see if I fall in love or if I will pull it off, but for now I think it isn't so bad. And now I can walk around my home in whatever I choose!


Related Posts with Thumbnails